Overview
In this article we will explain how to connect a PostgreSQL database to Preset. So let's get started!
Allowlist Preset IPs
Preset Cloud runs on four regions. For Preset to access your data, first thing you need to do is to add region based Preset IP addresses to your Inbound and Outbound firewall rules.
Protocol | Port | Source |
|---|---|---|
TCP | 5432 |
Connect database to Preset
Let's start by selecting + Database — have a look at Connecting your Data if you need help wth this step.
Select PostgreSQL.
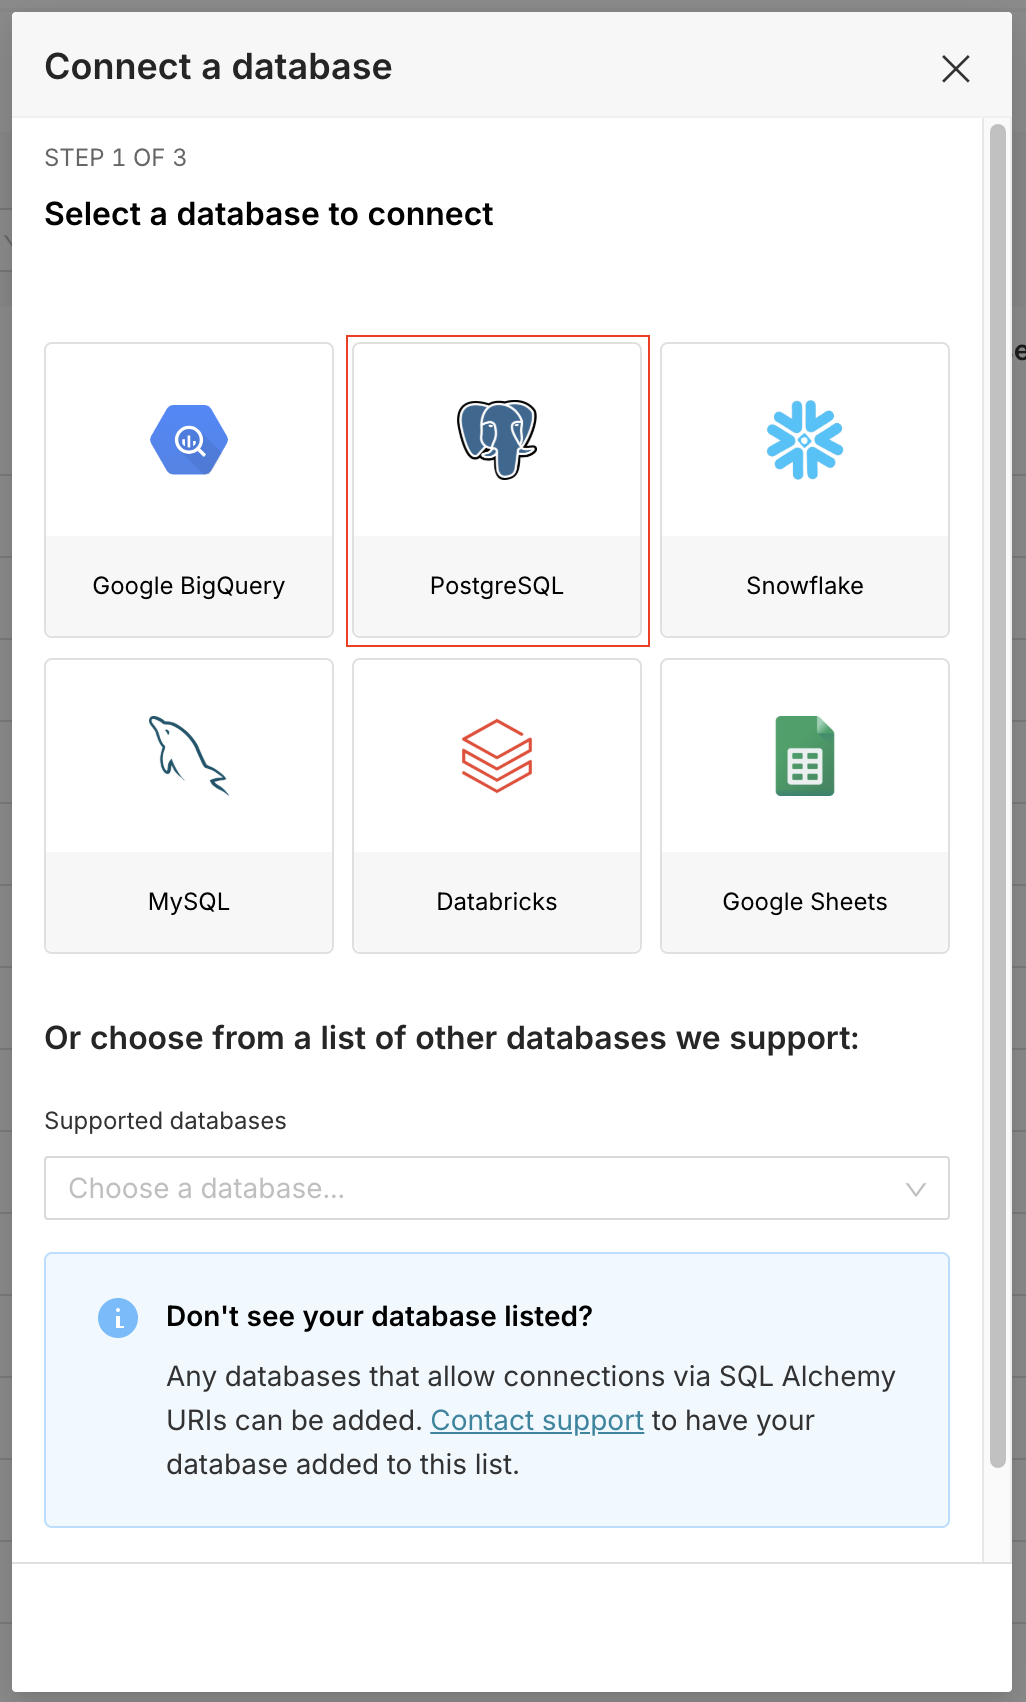
The Connect a database window appears. There are two ways to proceed with the connection:
Using the dynamic form: Applicable to most use-cases.
Using a SQLAlchemy string URI: Useful to setup advanced configurations, such as providing custom certificate files.
Connect via the dynamic form
Fill the form with information from your Postgres instance:
Host with the hostname/IP address of your Postgres instance.
Port with the port that should be used for the connection (typically
5432).Database name with the name of the database you want to connect to from the Postgres instance.
Username and Password with the credentials that should be used for the connection.
Display Name with the name to be used in Preset for this connection.
The Additional Parameters field can be used to specify additional parameters to be used in the SQLAlchemy connection string, if needed.
Toggle the SSL button to create the connection with SSL mode set to
verify-ca, if desired.Expand the SSH section to provide an SSH Tunnel configuration in case your database is not exposed to the Preset IPs.
.png)
Click on Connect to create the connection.
At this stage, you can optionally configure Advanced options, if needed. To learn more, please see Advanced Connection Settings.
To finalize the connection, select Finish. Great job!
Connect using a SQLAlchemy string URI
Scroll down the Postgres form and click on the Connect this database with a SQLAlchemy URI string instead:
.png)
Fill the form accordingly:
In the Display Name field, enter a meaningful name for the new connection to Postgres.
In the SQLAlchemy URI field, customize your URI connection string using the following syntax:
postgresql+psycopg2://<Username>:<Password>@<Host>:<Port>/<Database>Replace:
<Username>and<Password>with the credentials that should be used for the connection.<Host>and<Port>with the host/IP address and port that should be used for the connection.<Database>with the name of the database you want to connect to from the Postgres instance.
.png)
Provide custom certificate files
If your database requires providing custom certificate files, navigate to the Advanced tab, and then expand the Security section. The additional connection configuration should be added to the SECURE EXTRA field:
{
    "certificates": {
        "client-cert.pem": "<Client Certificate>",
        "client-key.pem": "<Client Key>",
        "server-ca.pem": "<Server CA>"
    }
}
Note that the content for each file should be a single string block. Line breaks can be replaced with \n (each).
You can also use below Python script to automatically generate this content — note that the Python script must be created inside the same directory the certificate files are stored, and the files should also be named as client-cert.pem, client-key.pem and server-ca.pem:
import json

filenames = {
    "client-cert.pem",
    "client-key.pem",
    "server-ca.pem",
}

print(
    json.dumps(
        {
            "certificates": {filename: open(filename).read() for filename in filenames},
        }
    )
)
When done, return to the previous screen by navigating to the Basic tab.
Test and Connect
To test your connection, click on the Test connection button. If successful, a notification message appears:
.png)
After a successful test, go ahead and select Connect to finalize the connection.
Congratulations, your database is now connected to Preset!