Overview
In this article we will discuss how to connect a Trino database to Preset. So let's get started!
Allowlist Preset IPs
Preset Cloud currently runs on four regions with the IPs listed below.
Before starting, we recommend that you allowlist the Preset IP addresses to ensure the connection with Trino.
| us-west-2 (us1a) | us-east-1 (us2a) | eu-north-1 (eu5a) | ap-northeast-1 (ap1a) |
|---|---|---|---|
| 35.161.45.11 | 44.193.153.196 | 13.48.95.3 | 35.74.159.67 |
| 54.244.23.85 | 52.70.123.52 | 13.51.212.165 | 35.75.171.157 |
| 52.32.136.34 | 54.83.88.93 | 16.170.49.24 | 52.193.196.211 |
If you are not sure where your Preset workspace is located, you can refer to the URL on your browser when accessing Preset. It should look like this: https://xxxxxxxx.us2a.app.preset.io/superset..., where us2a means it is in us-east-1.
Connect Database to Preset
Let's start by selecting + Database — have a look at Connecting your Data if you need help wth this step.
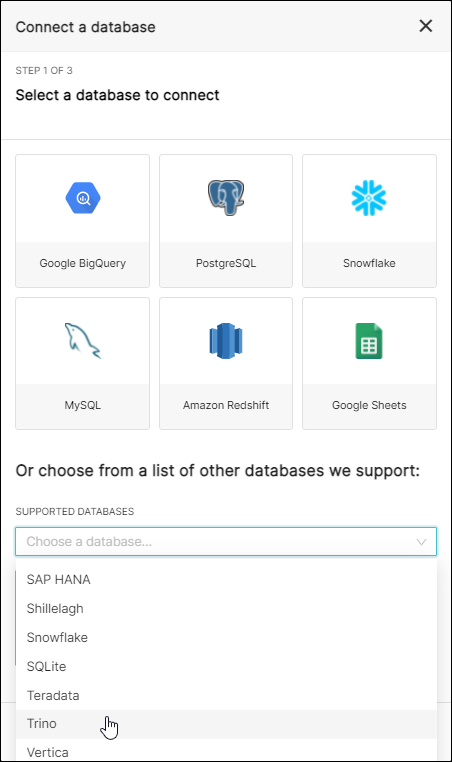
...then, in the Connect a database window, scroll down and select the Supported Databases field.
In the drop-down list, select Trino.
Configure the Connection
The Connect a database panel appears.
Please note that all fields below are required.
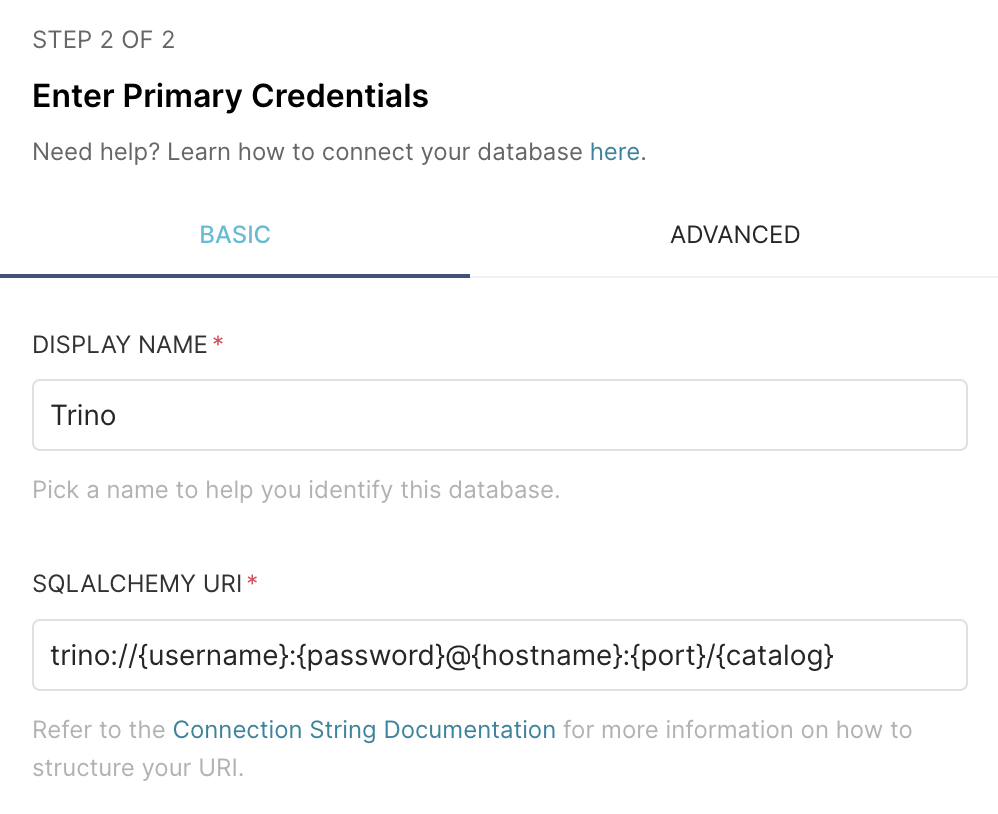
In the Display Name field, enter a database nickname for display in the Preset environment.
In the SQLAlchemy URI field, enter the unique URI based on the following syntax, being careful to enter the relevant token, host, and database name details.
trino://{username}:{password}@{hostname}:{port}/{catalog}
The screen should similar to the following:
Provide Warehouse Parameters
At this stage, you want to configure Advanced options. To learn more, please see Advanced Connection Settings.
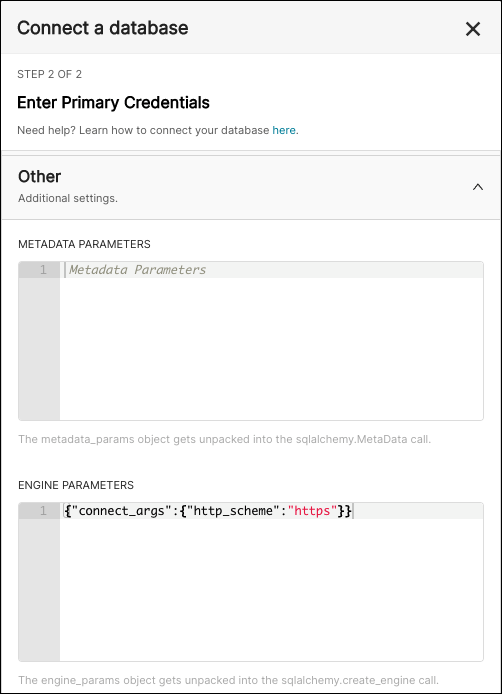
Select the Advanced tab and expand the Other panel.
In the Engine Parameters text-entry field, enter the following — be sure to enter the relevant http path retrieved earlier.
{"connect_args":{"http_scheme":"https"}}
The screen should look similar to the following:
Make the Connection
Next, navigate back to the Basic tab and then select Test Connection.
A notification message will appear indicating success or failure. If the test worked, then go ahead and select Connect to finalize the database connection.