The SAML SSO integration is only available on the Enterprise plan.
Overview
This page covers how to create a SAML SSO integration with Preset using Okta as your Identity Provider (IdP).
Create the integration on Okta
-
Access the Okta admin portal.
-
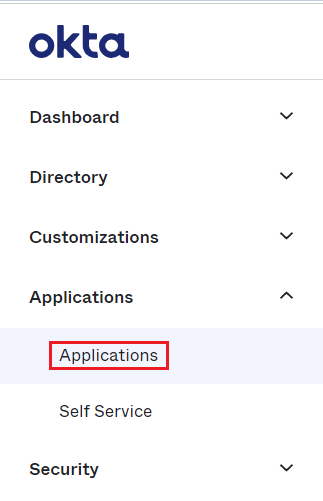
Navigate to Applications > Applications, on the sidebar.
-
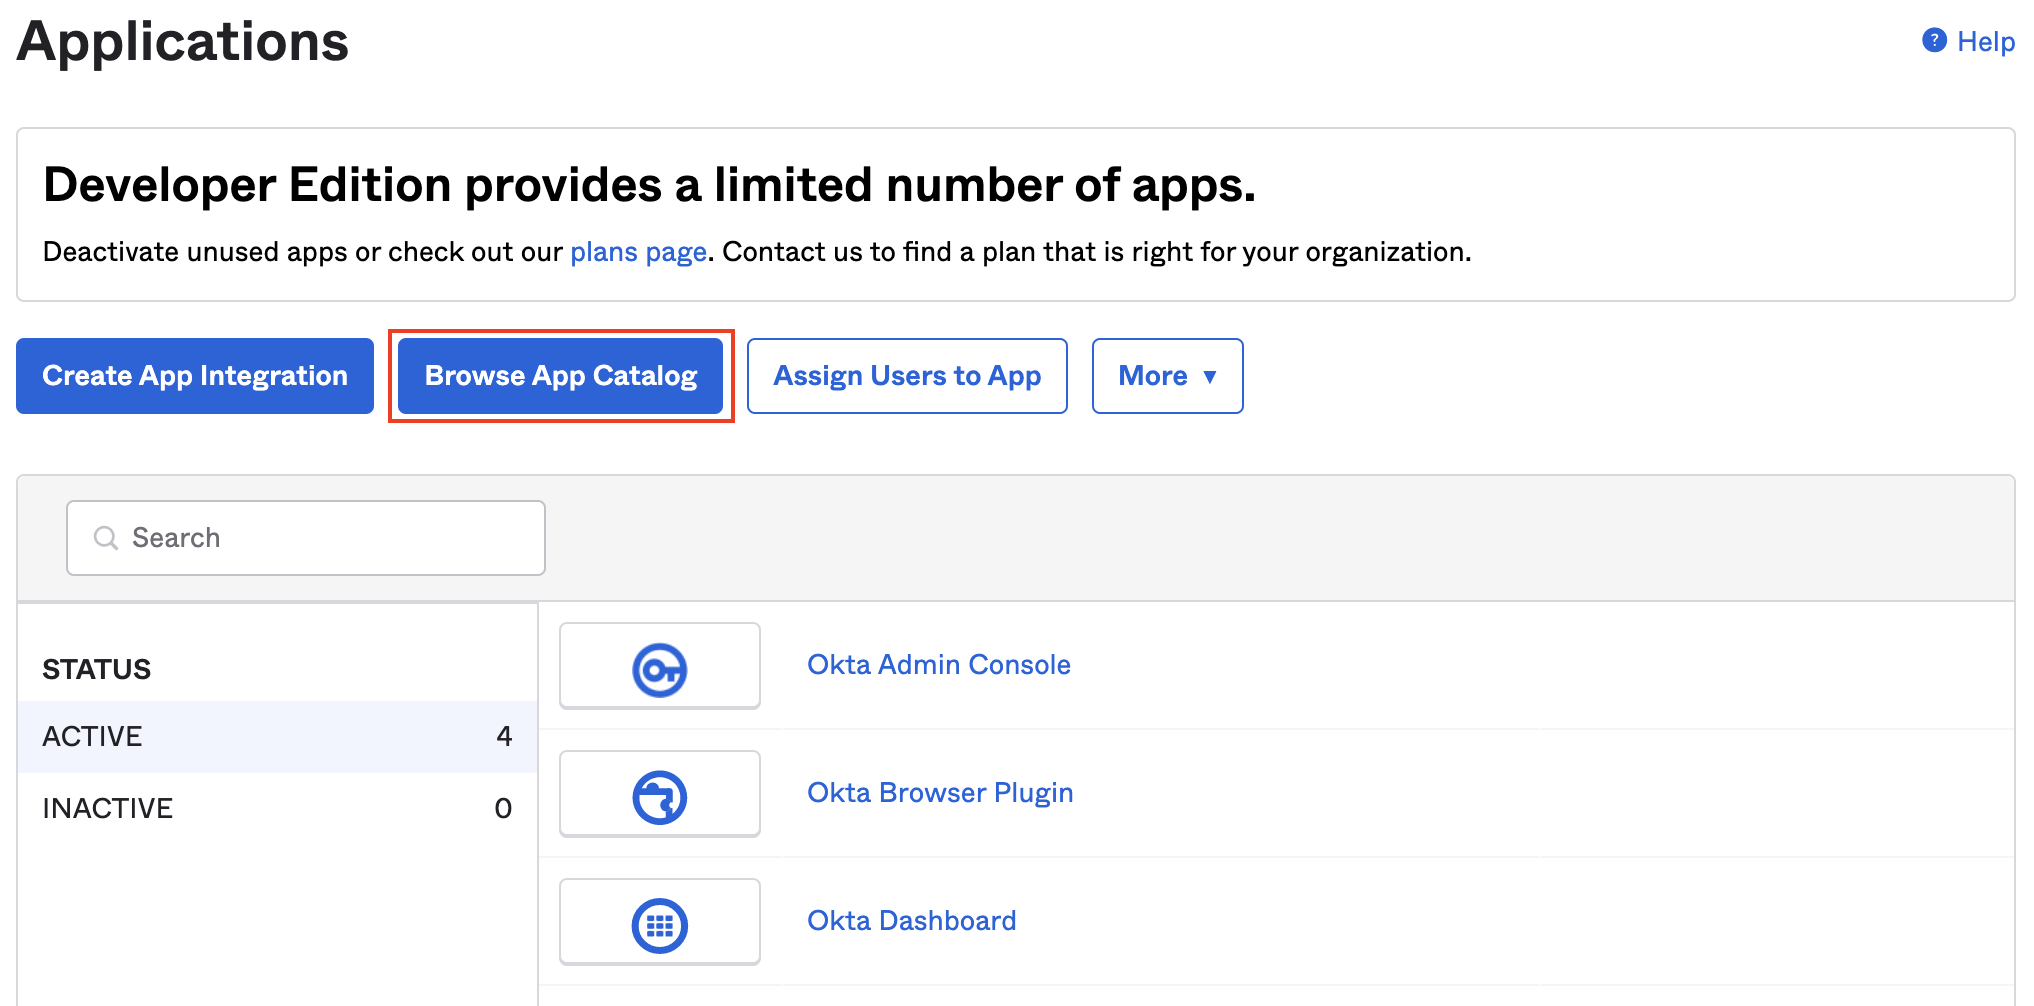
Click on Browse App Catalog.
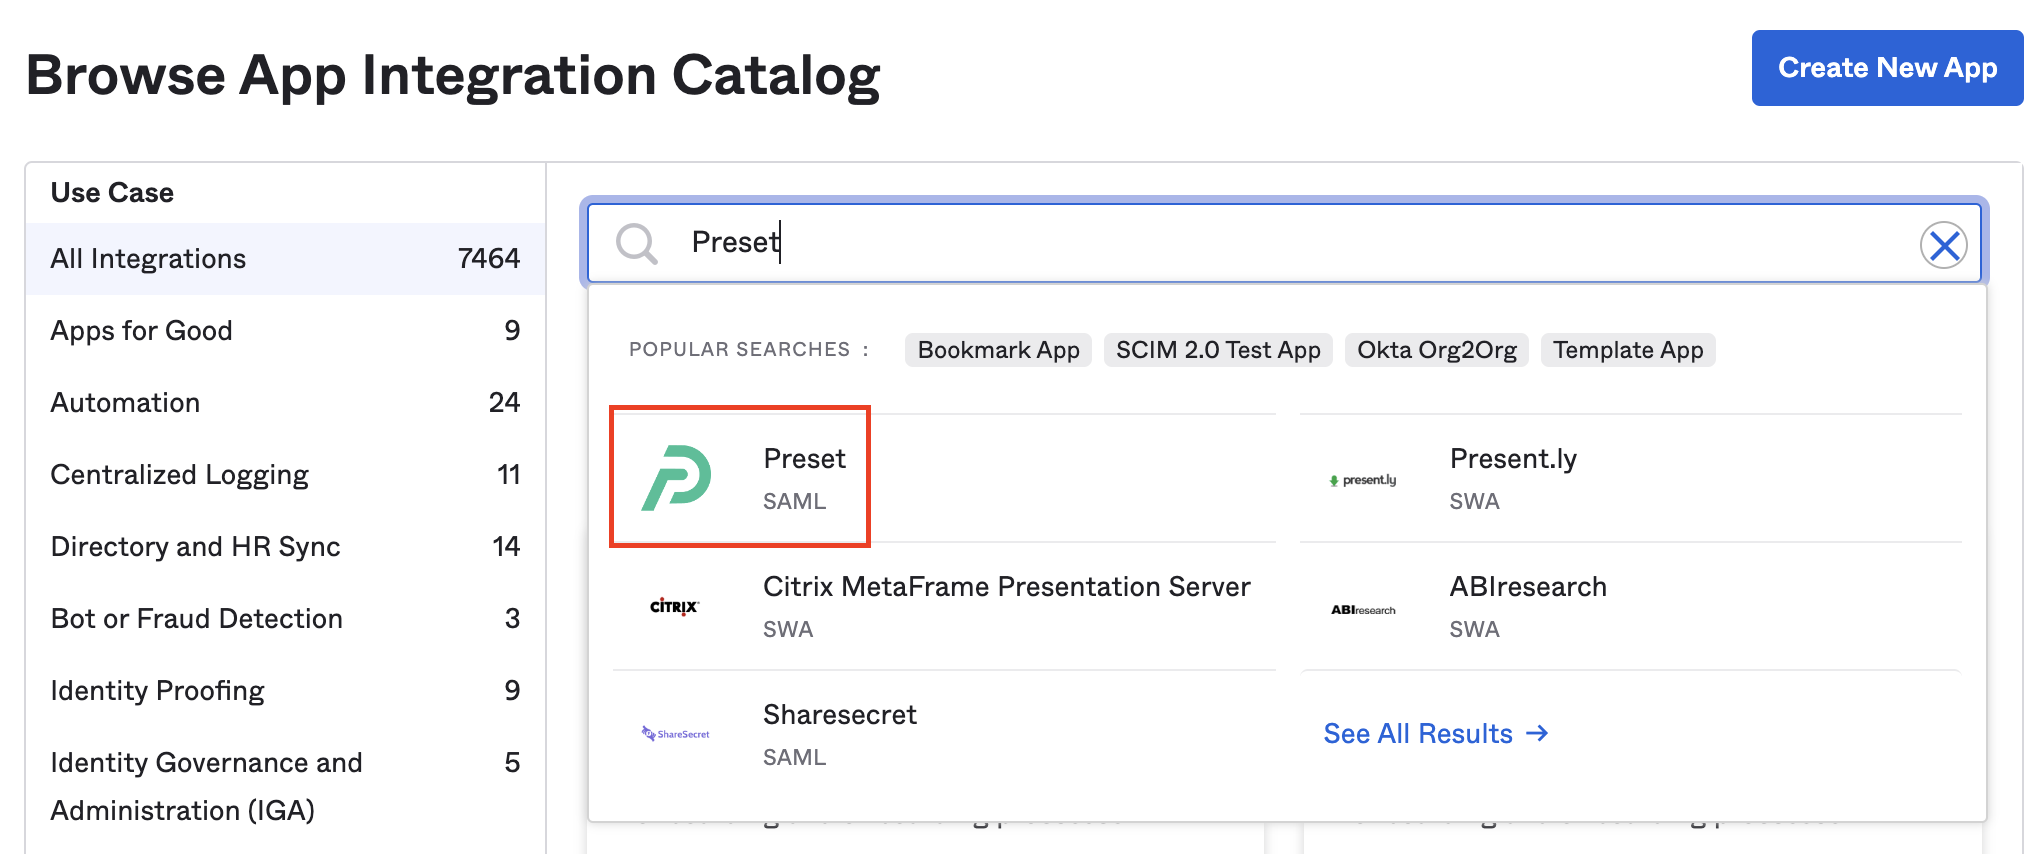
- Search for Preset.
- Click on Add Integration.
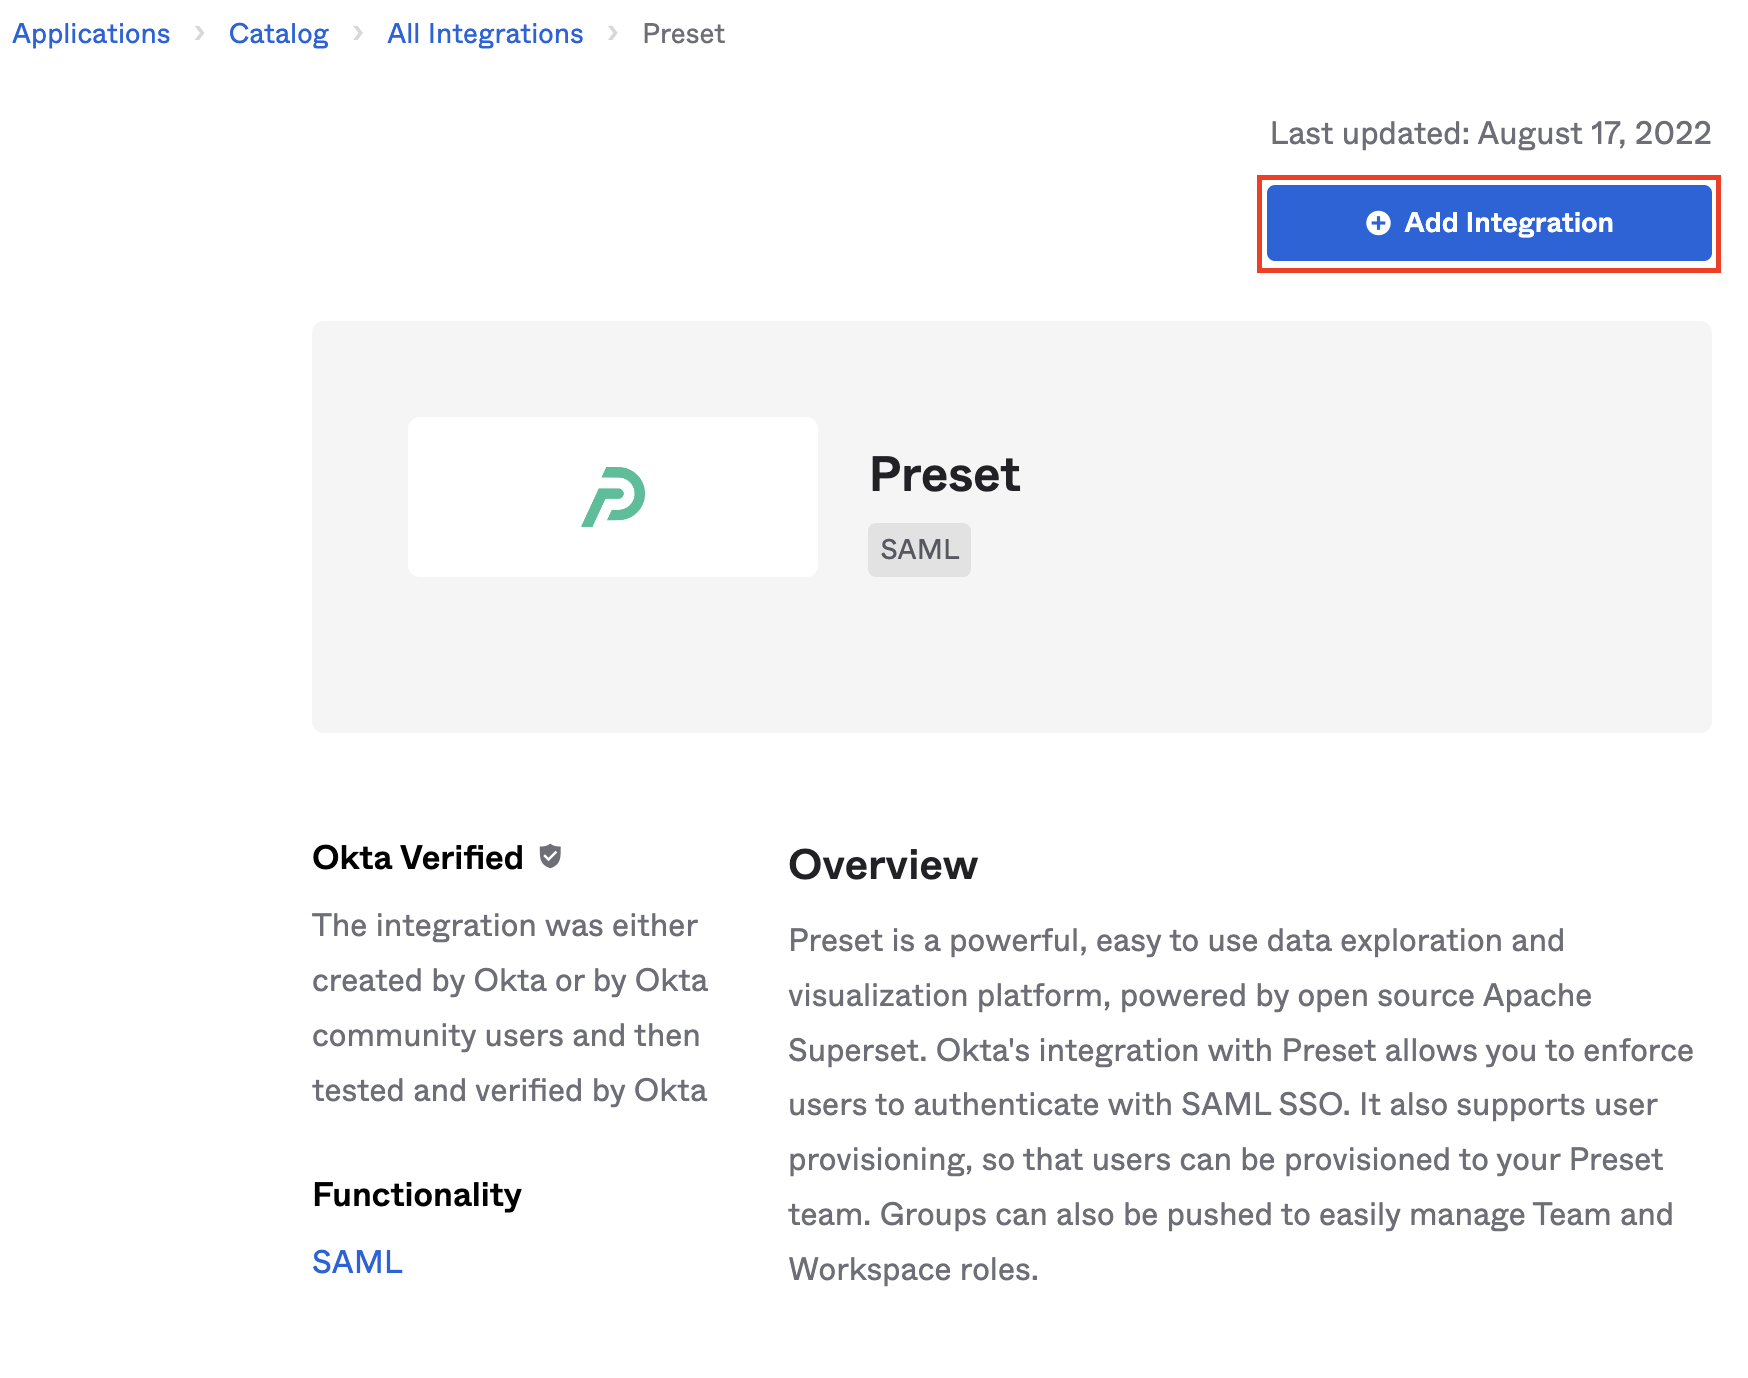
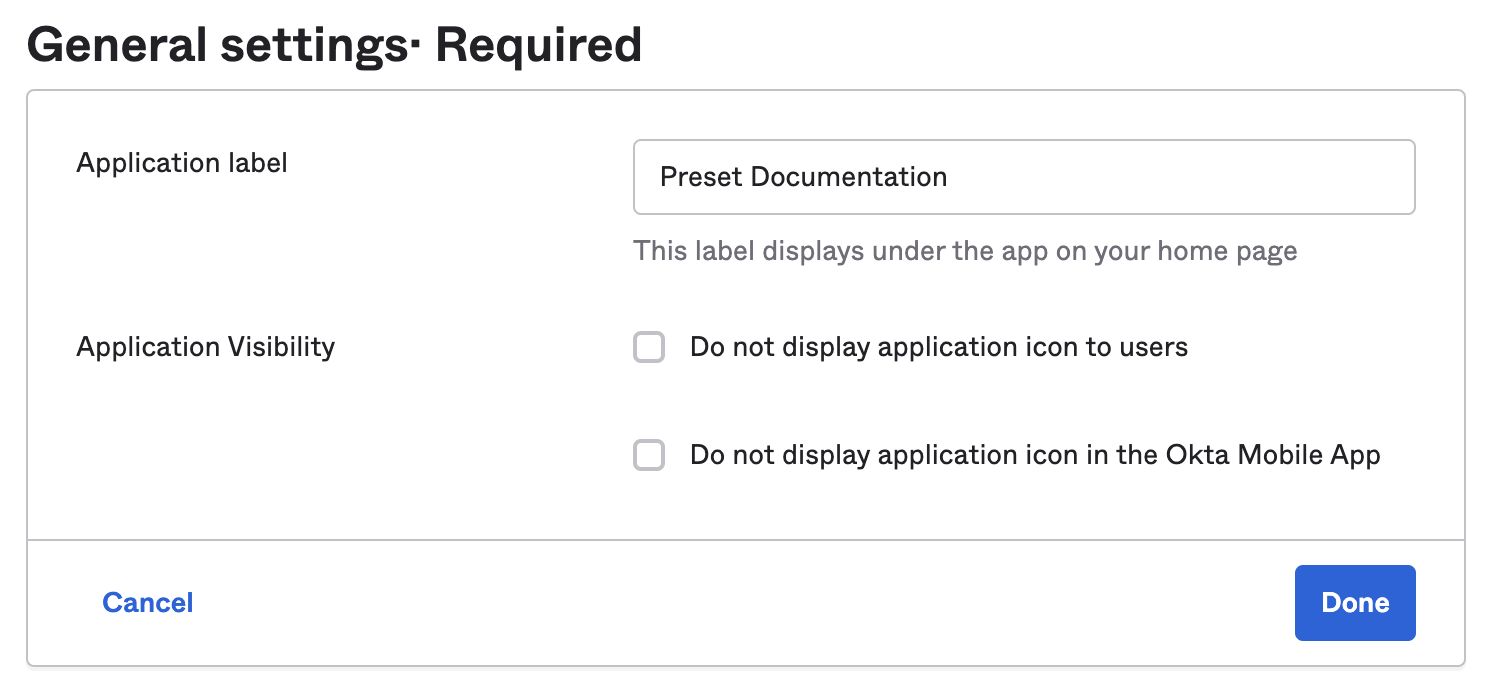
- Configure the application name and visibility.
- You'll be redirected to the application. Navigate to the Sign On tab.
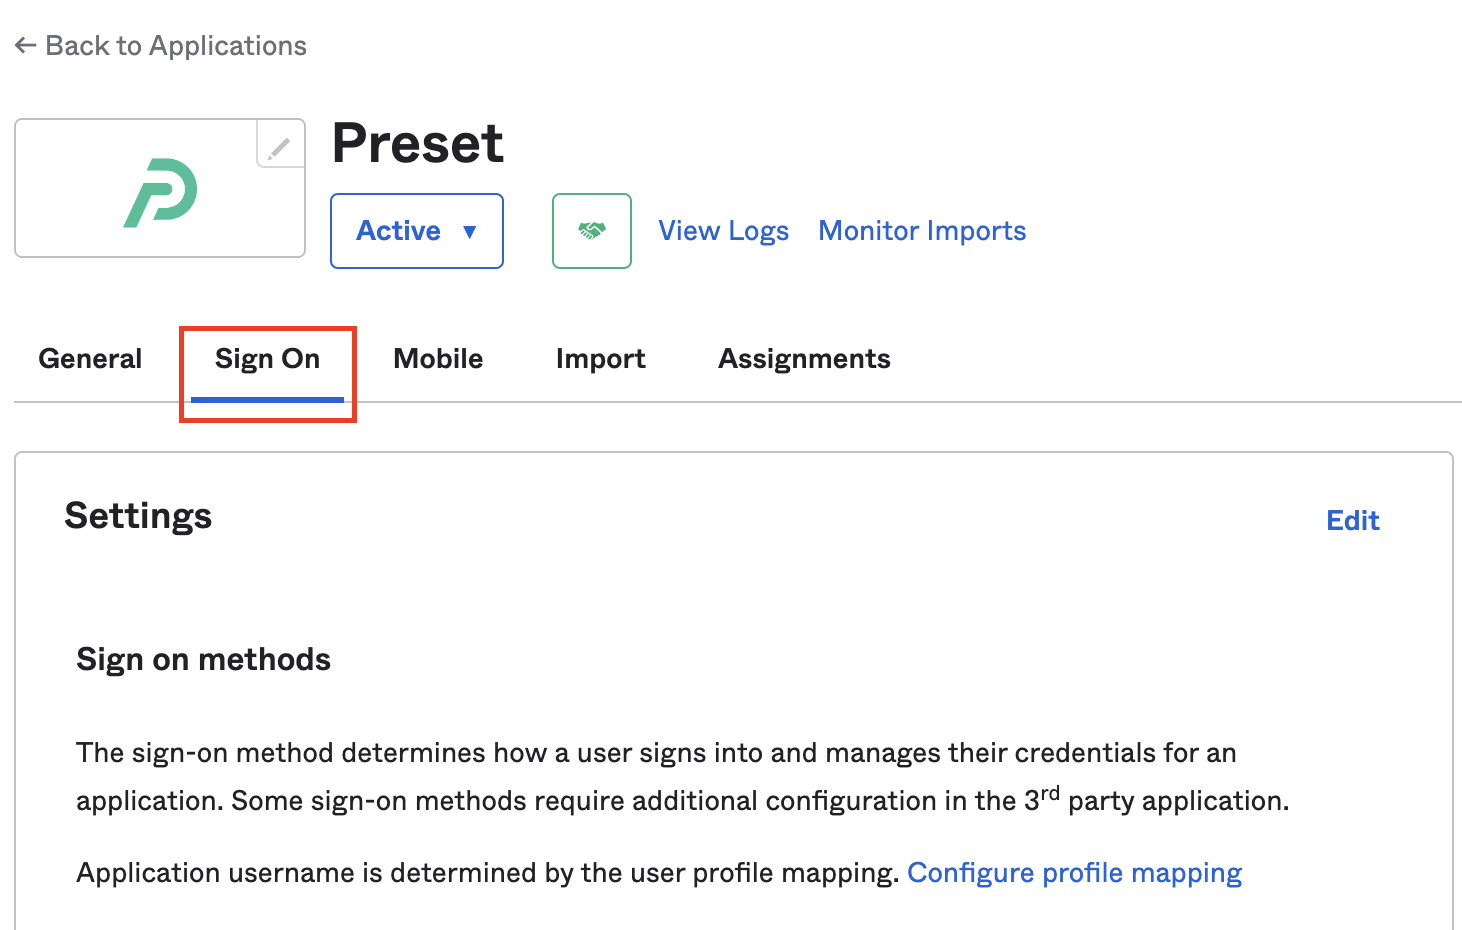
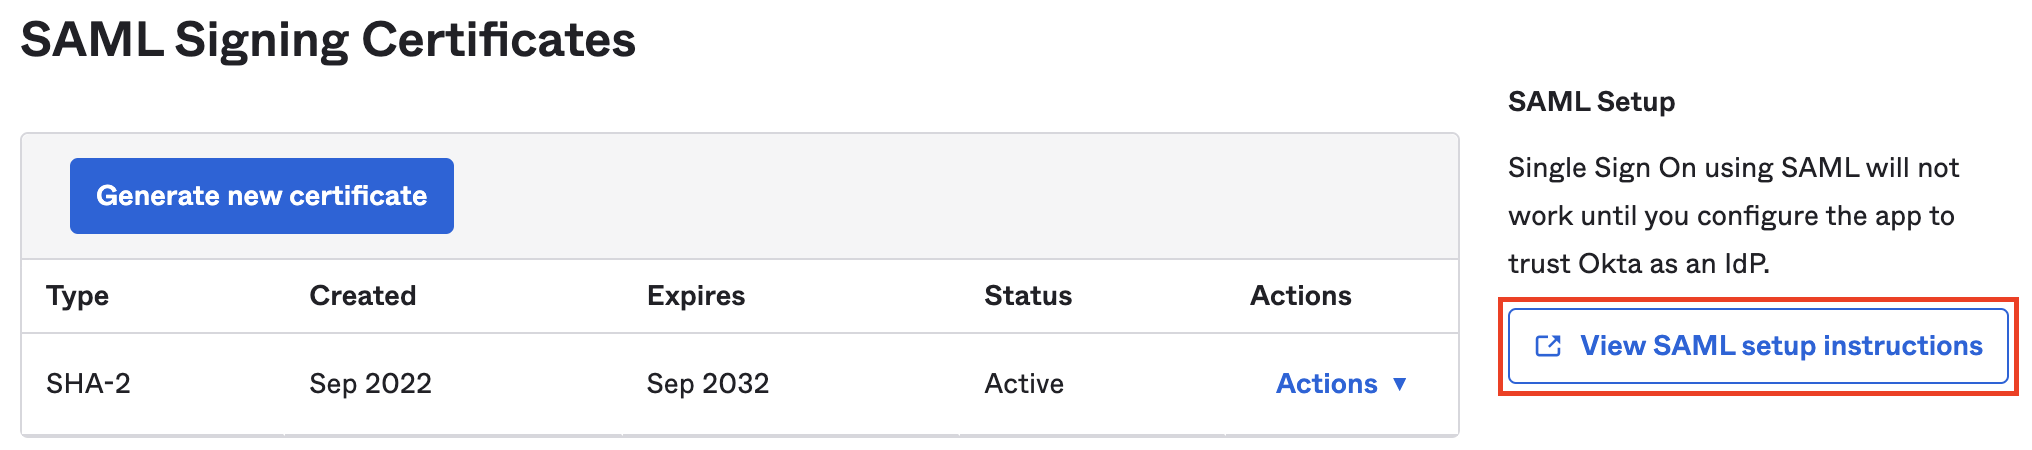
- Click on View SAML setup instructions, next to the SAML Signing Certificates.
Engage with the Preset Support team
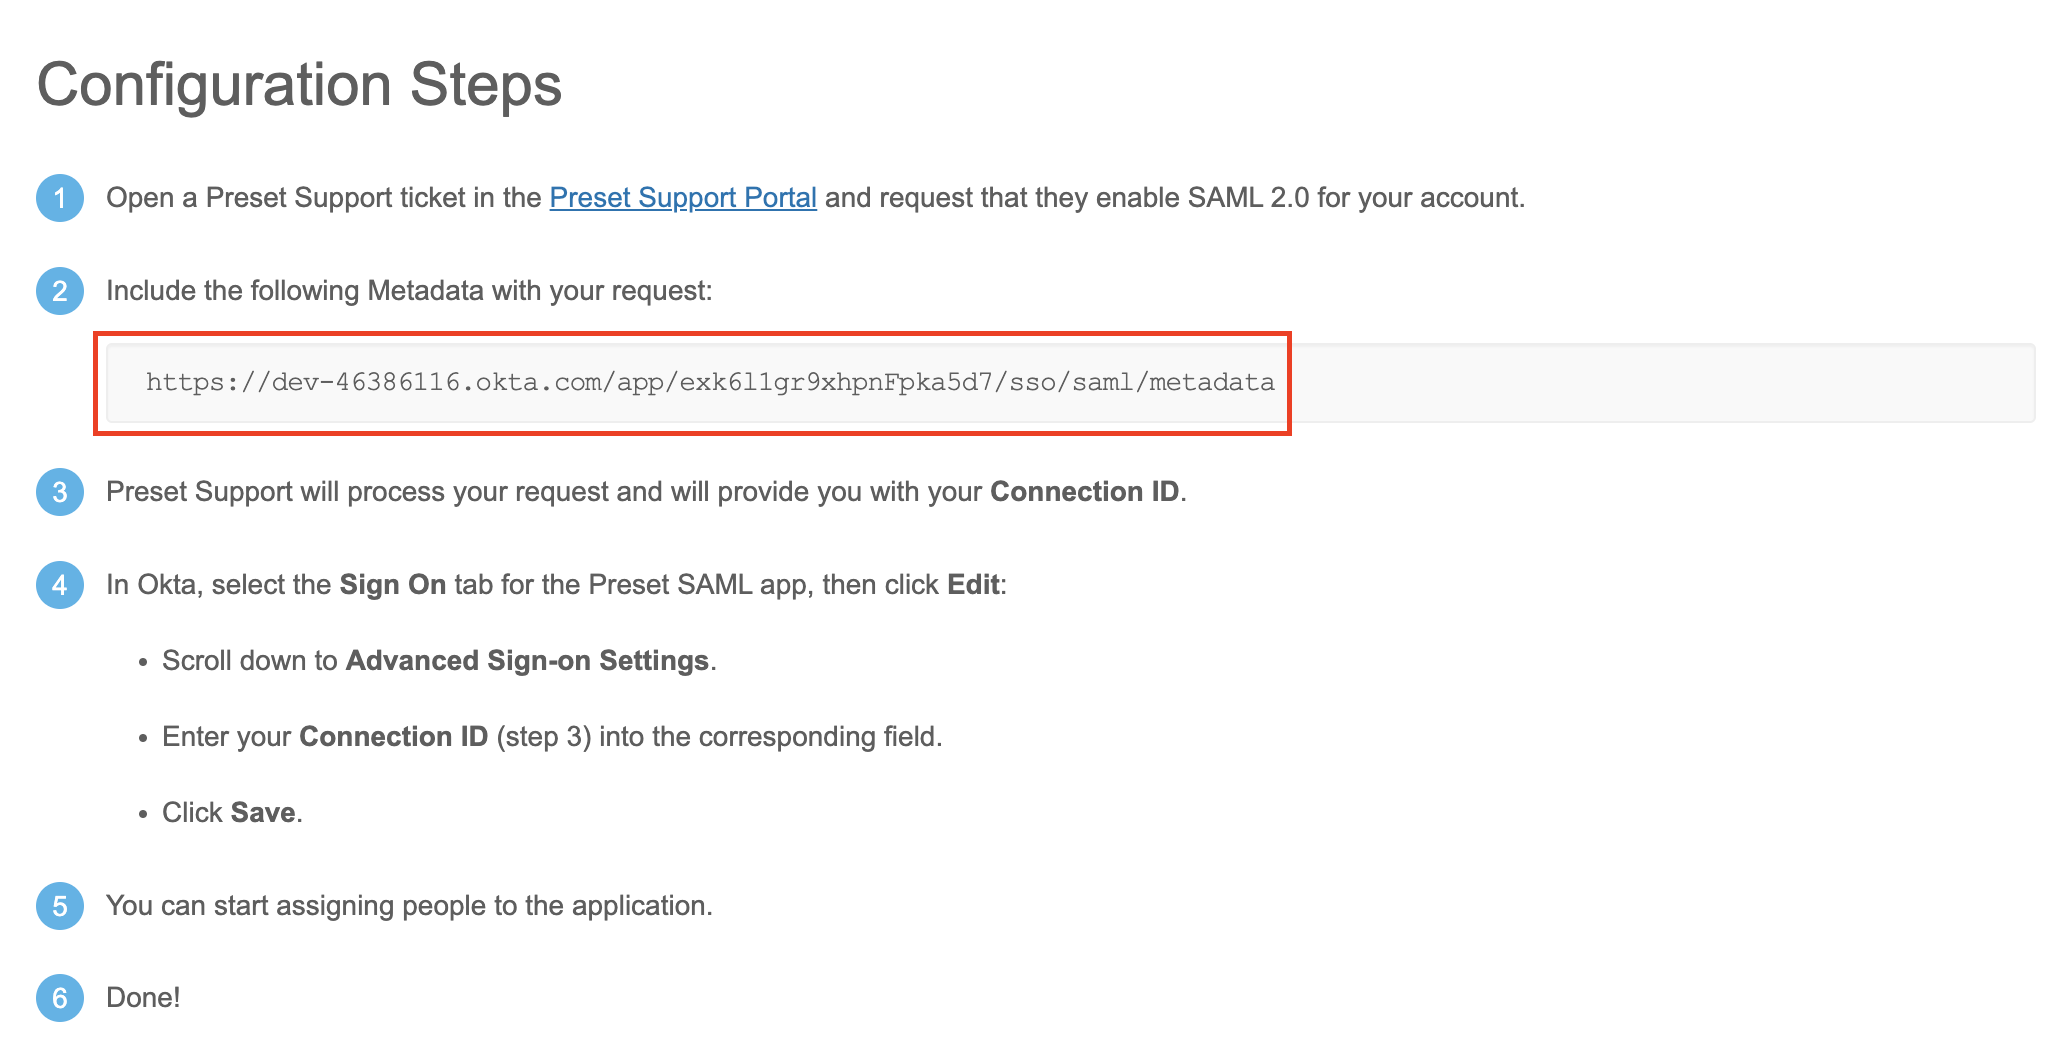
Send the metadata link from the instructions page to us by opening up a support ticket via the Preset Support Portal:
Also specify which domain(s) should be enforced with your SSO integration.
The SSO integration will be enforced to all accounts from your domain(s). This means that all users from your domain(s) that use Preset need to be properly configured and assigned to the Preset application in your IdP.
To mitigate impact, the integration needs to be approved by an admin of your Preset team. If you are not a Team Admin, share the support ticket with one so they can approve the implementation.
The Preset team will create the integration and provide a Connection ID. To configure it on Okta:
-
Access the app created for the integration, on the Okta admin portal.
-
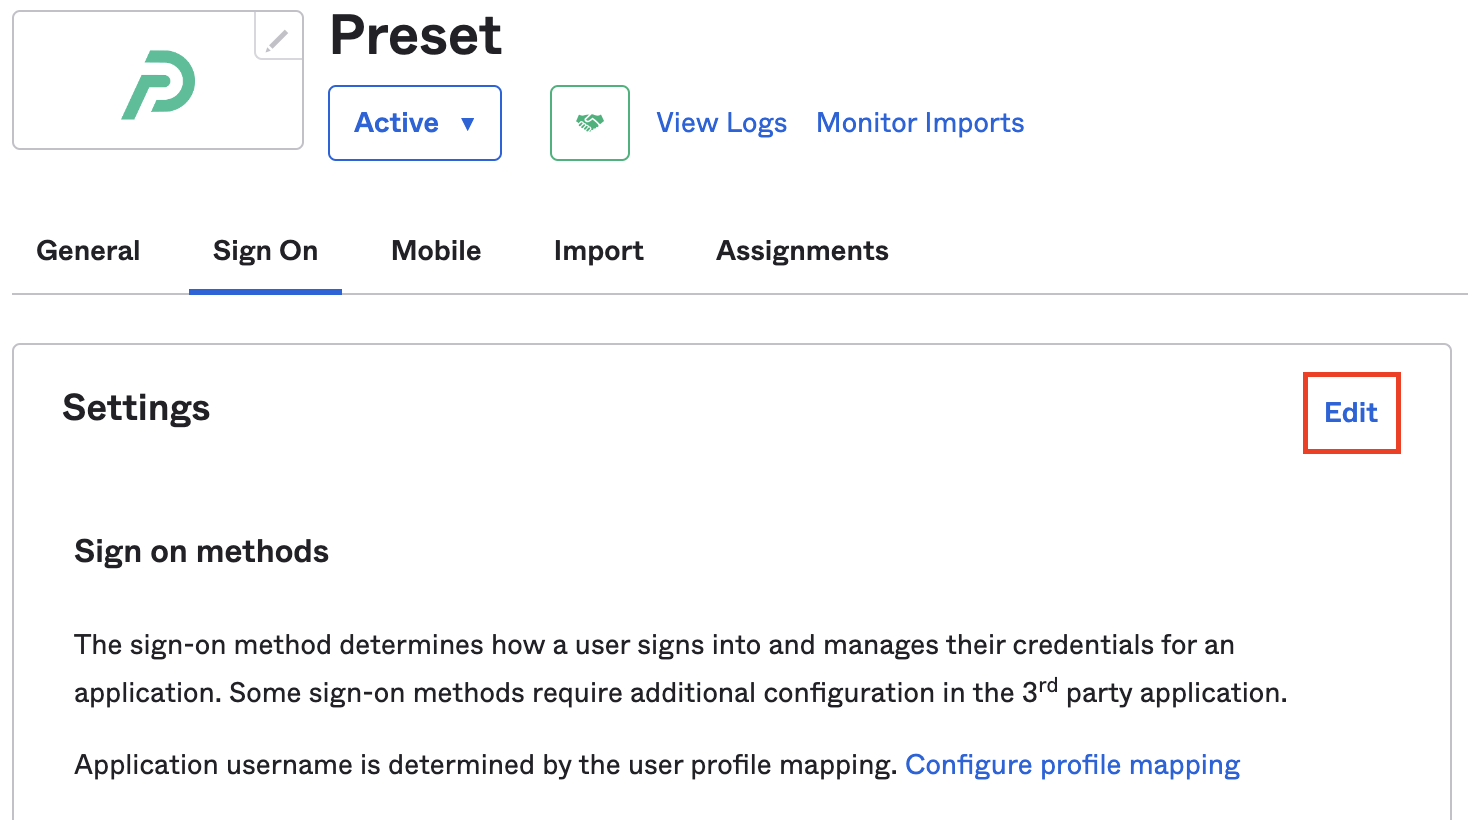
Navigate to the Sign On tab.
-
Click on Edit, next to the Settings.
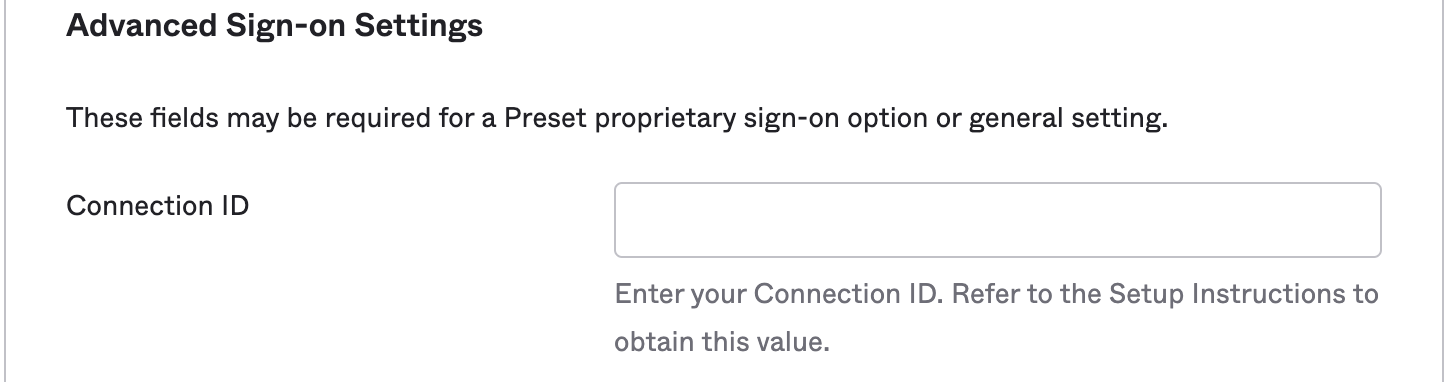
- Fill the Connection ID, under Advanced Sign-on Settings.
-
Under Credentials Details, set the Application username format as Custom.
-
Use
user.loginas the expression. -
Change the Update application username on to Create only.
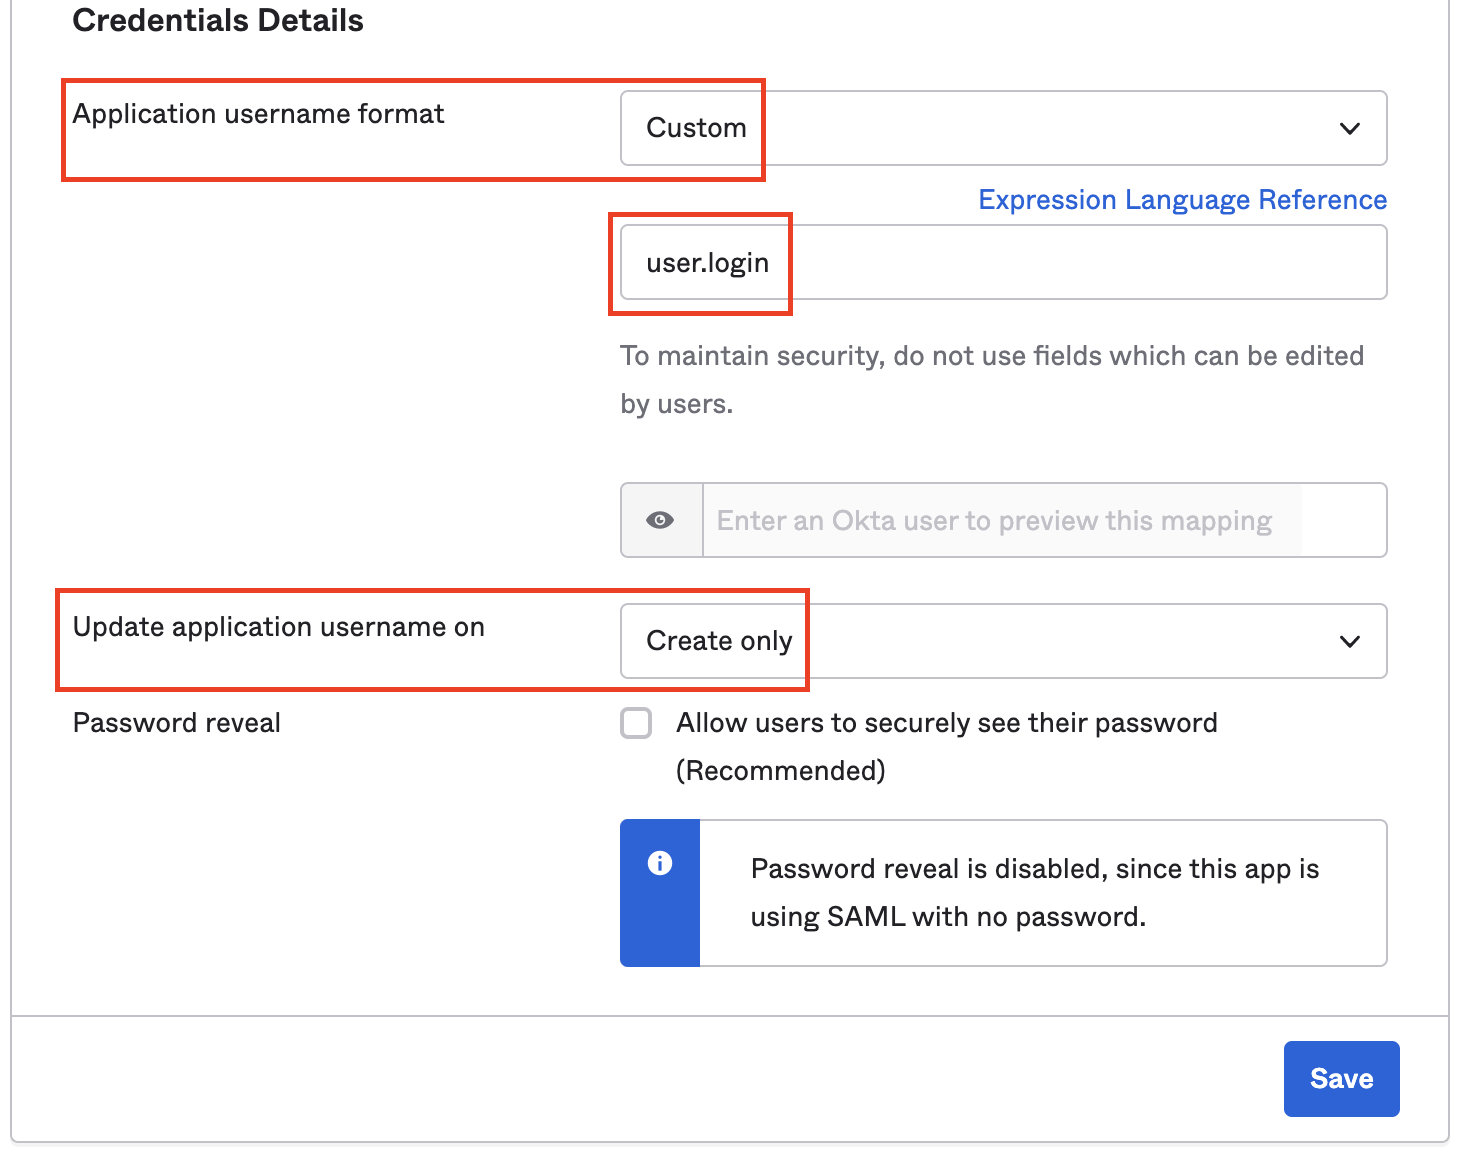
- Click on Save.
After updating the configuration, test the integration.
Important details
Existing accounts
If users have already been created in a team before setting up the SSO integration, Preset will merge existing users with the SSO login. For a successful merge, the email sent by the Identity Provider needs to be the same used on Preset side.
New accounts
Preset supports just-in-time account creation (JIT Provisioning), meaning that a Preset account is automatically created for a new user authenticating via SSO. However, this account will not be automatically added to an existing Preset team. Instead, a new Team will be created. Make sure to invite new users to your Preset team to prevent this issue.
Testing the integration
-
Navigate to the Preset log in page.

-
Enter your email address and click on Next.
-
You will be redirected to your IdP to perform the authentication. Once the authentication is successfully finished, your IdP will send you back to Preset.
-
You'll be prompted to Link accounts - click on RE-AUTHENTICATE.
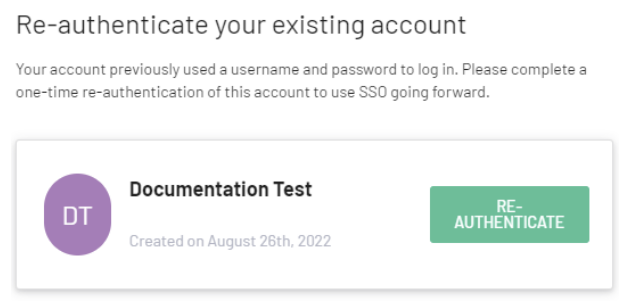
- Enter the local password set before the SSO integration, and click on Log in.
You should be logged into your existing account, with all existing permissions.