Overview
To make the most of Preset, invite others to your team to share your charts and dashboards.
To access the functionality described in this article, a user needs Admin access. If a user is a non-admin, they cannot access the Manage Team page.
Are you looking to join your organization's existing team?
Contact your Preset Team Admin. If you are not sure who to contact, submit a support ticket (identity verification is required) so we can assist you in getting in touch with one of your organization's Preset Admin.
Managing a Team
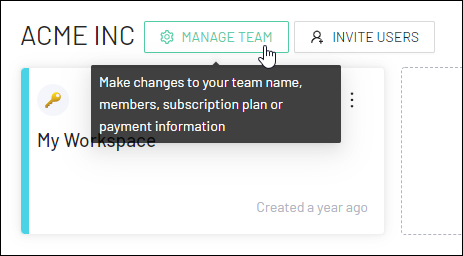
From the Preset Manager, you can access your team's settings — to the right of your team's name, select Manage Team or Invite Users.
Invite a Teammate
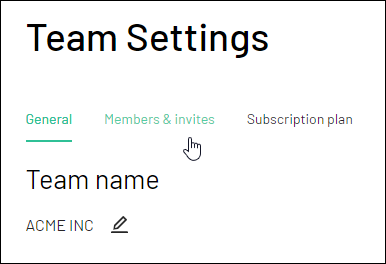
From the Mange Team settings you can invite users by selecting Members & invites.
To invite a teammate, in the Invite team members panel, enter an e-mail address and assign team and workspace roles.
For more information on the specifics of these roles, please see User and Data Access Management.
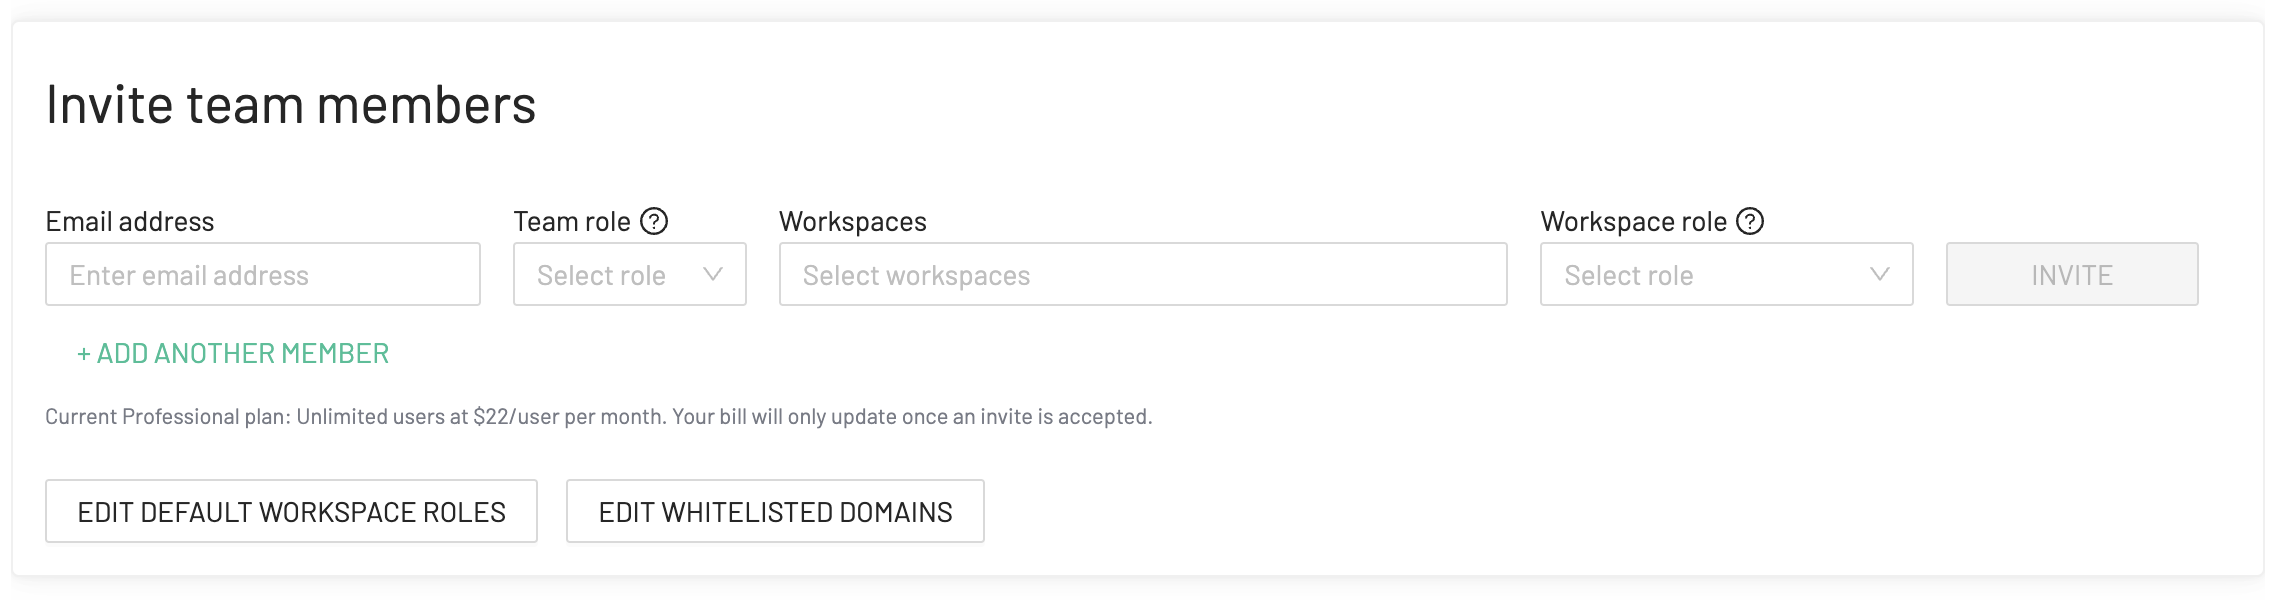
An invitation e-mail with an acceptance link will be sent to the recipient.
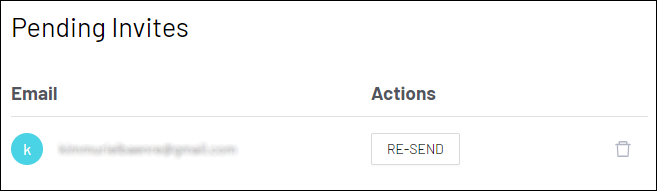
After an invitation has been sent, it is classified as a pending invitation and will appear in the Pending Invites panel.
Re-send an Invitation
In the event that your recipient did not receive the invitation, you can always navigate to the Pending Invites panel and re-send the invite by selecting Re-send Link.
Delete a Pending Invitation
If you wish to rescind a pending invitation, you can always select the trash bin icon to delete any pending invite.

Change User Permissions
Team Level Role
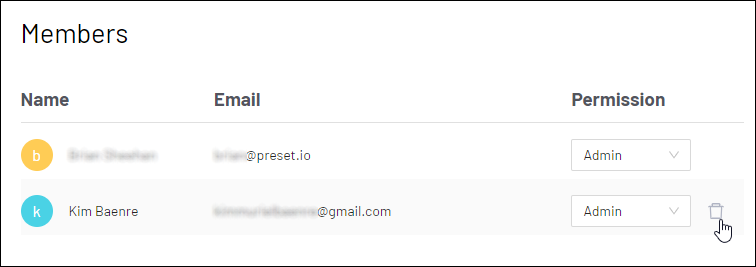
When a new teammate accepts an invitation and creates an account with Preset, their name and e-mail address will be listed in the Members section.
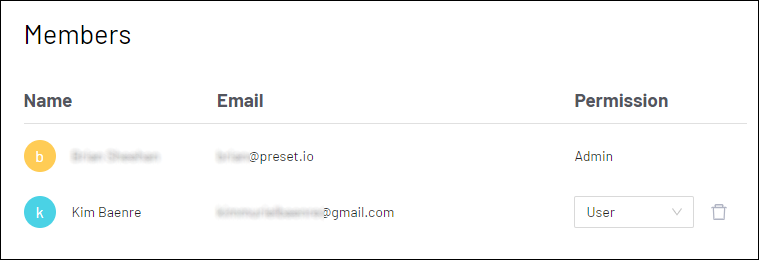
The drop-down list under the Permission column header enables you to change the user permission to either User or Admin, as needed. All changes are saved automatically.
For more information on these roles, see User and Data Access Management.
Workspace Level Role
To change a user's role at the workspace level, first navigate to the Preset manager. From here select the three dots on the top right hand side of the workspace you want to change the user's role in and select Edit Workspace Roles
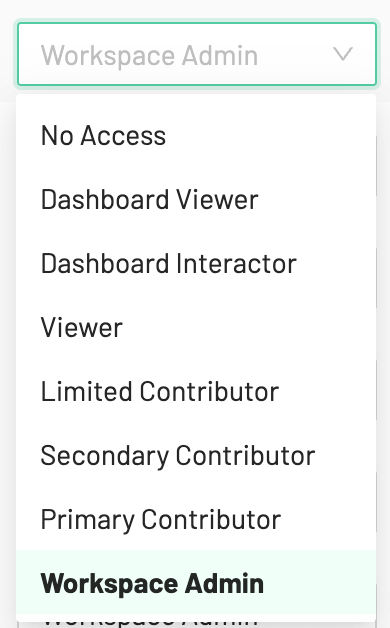
From the workspace roles interface you can change a user's role in that workspace. For more details on each of the role types please see User and Data Access Management.
Important:
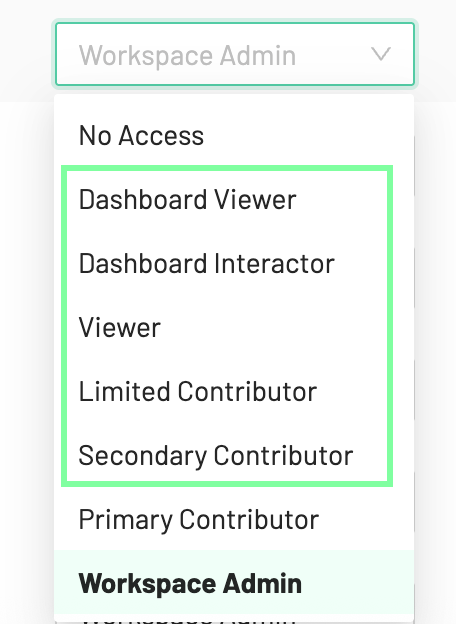
Any role below Primary Creator (Secondary Creator, Limited Creator, Viewer, Dashboard Interactor, and Dashboard Viewer) hides all the dashboards from the targeted user until you assign a DAR (Data Access Role) to it. If you want to get that granularity and show the dashboard to the user with any of those Workspace roles, you must assign a DAR after this. You can see the instructions on how to do it here.
Remove a Team Member
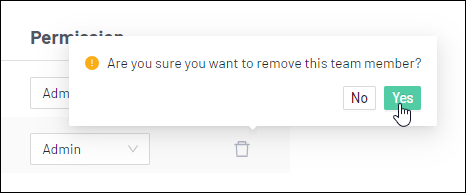
To remove a member from a team, navigate to the member's entry row and then select the trash bin icon.
A confirmation message appears — select Yes to confirm.
Default Workspace Roles
When a new workspace is created in Preset, a default workspace role will be assigned to all users to define how they will interact with this new workspace. The default workspace role is initially set as Primary Creator. You can update this option in the Members & Invites section of the Team Manager.

To change the default workspace role:
From the Preset Manager home page, select “Manage Team”. (This option will only be available to team admins.)
Navigate to the “Members & Invites” tab.
Select the “EDIT DEFAULT WORKSPACE ROLES” button, located at the bottom of the “Invite team members” section of the page.
A pop-over window will appear. Using the dropdown, select your preferred default workspace role and click Save.
After saving your new selection, any time you create a new workspace all users will be granted this new default workspace role in that new workspace. Existing workspace roles will not be affected.
