👤 This documentation is intended for Workspace Admins. Check with your Team Admin for additional access.
Introduction
If you're a Workspace Administrator, one of your first steps will be connecting a supported database to Preset. In this article we'll describe this process from beginning to end.
As a cloud software, Preset only connects to databases that are publicly addressable. Customer using locally hosted databases can consider deploying their database to the internet via a cloud provider or using a pre-existing cloud provider's database solution.
Before starting, allowlist the following IPs to ensure that Preset can access your database:
| us-west-2 (us1a) | us-east-1 (us2a) | eu-north-1 (eu5a) | ap-northeast-1 (ap1a) |
|---|---|---|---|
| 35.161.45.11 | 44.193.153.196 | 13.48.95.3 | 35.74.159.67 |
| 54.244.23.85 | 52.70.123.52 | 13.51.212.165 | 35.75.171.157 |
| 52.32.136.34 | 54.83.88.93 | 16.170.49.24 | 52.193.196.211 |
If you are not sure where your Preset workspace is located, you can refer to the URL on your browser when accessing Preset. It should look like this: https://xxxxxxxx.us2a.app.preset.io/superset..., where us2a means it is in us-east-1.
Select a Database
Only Workspace Admins can connect databases. To learn about the roles, visit User and Data Access Management.
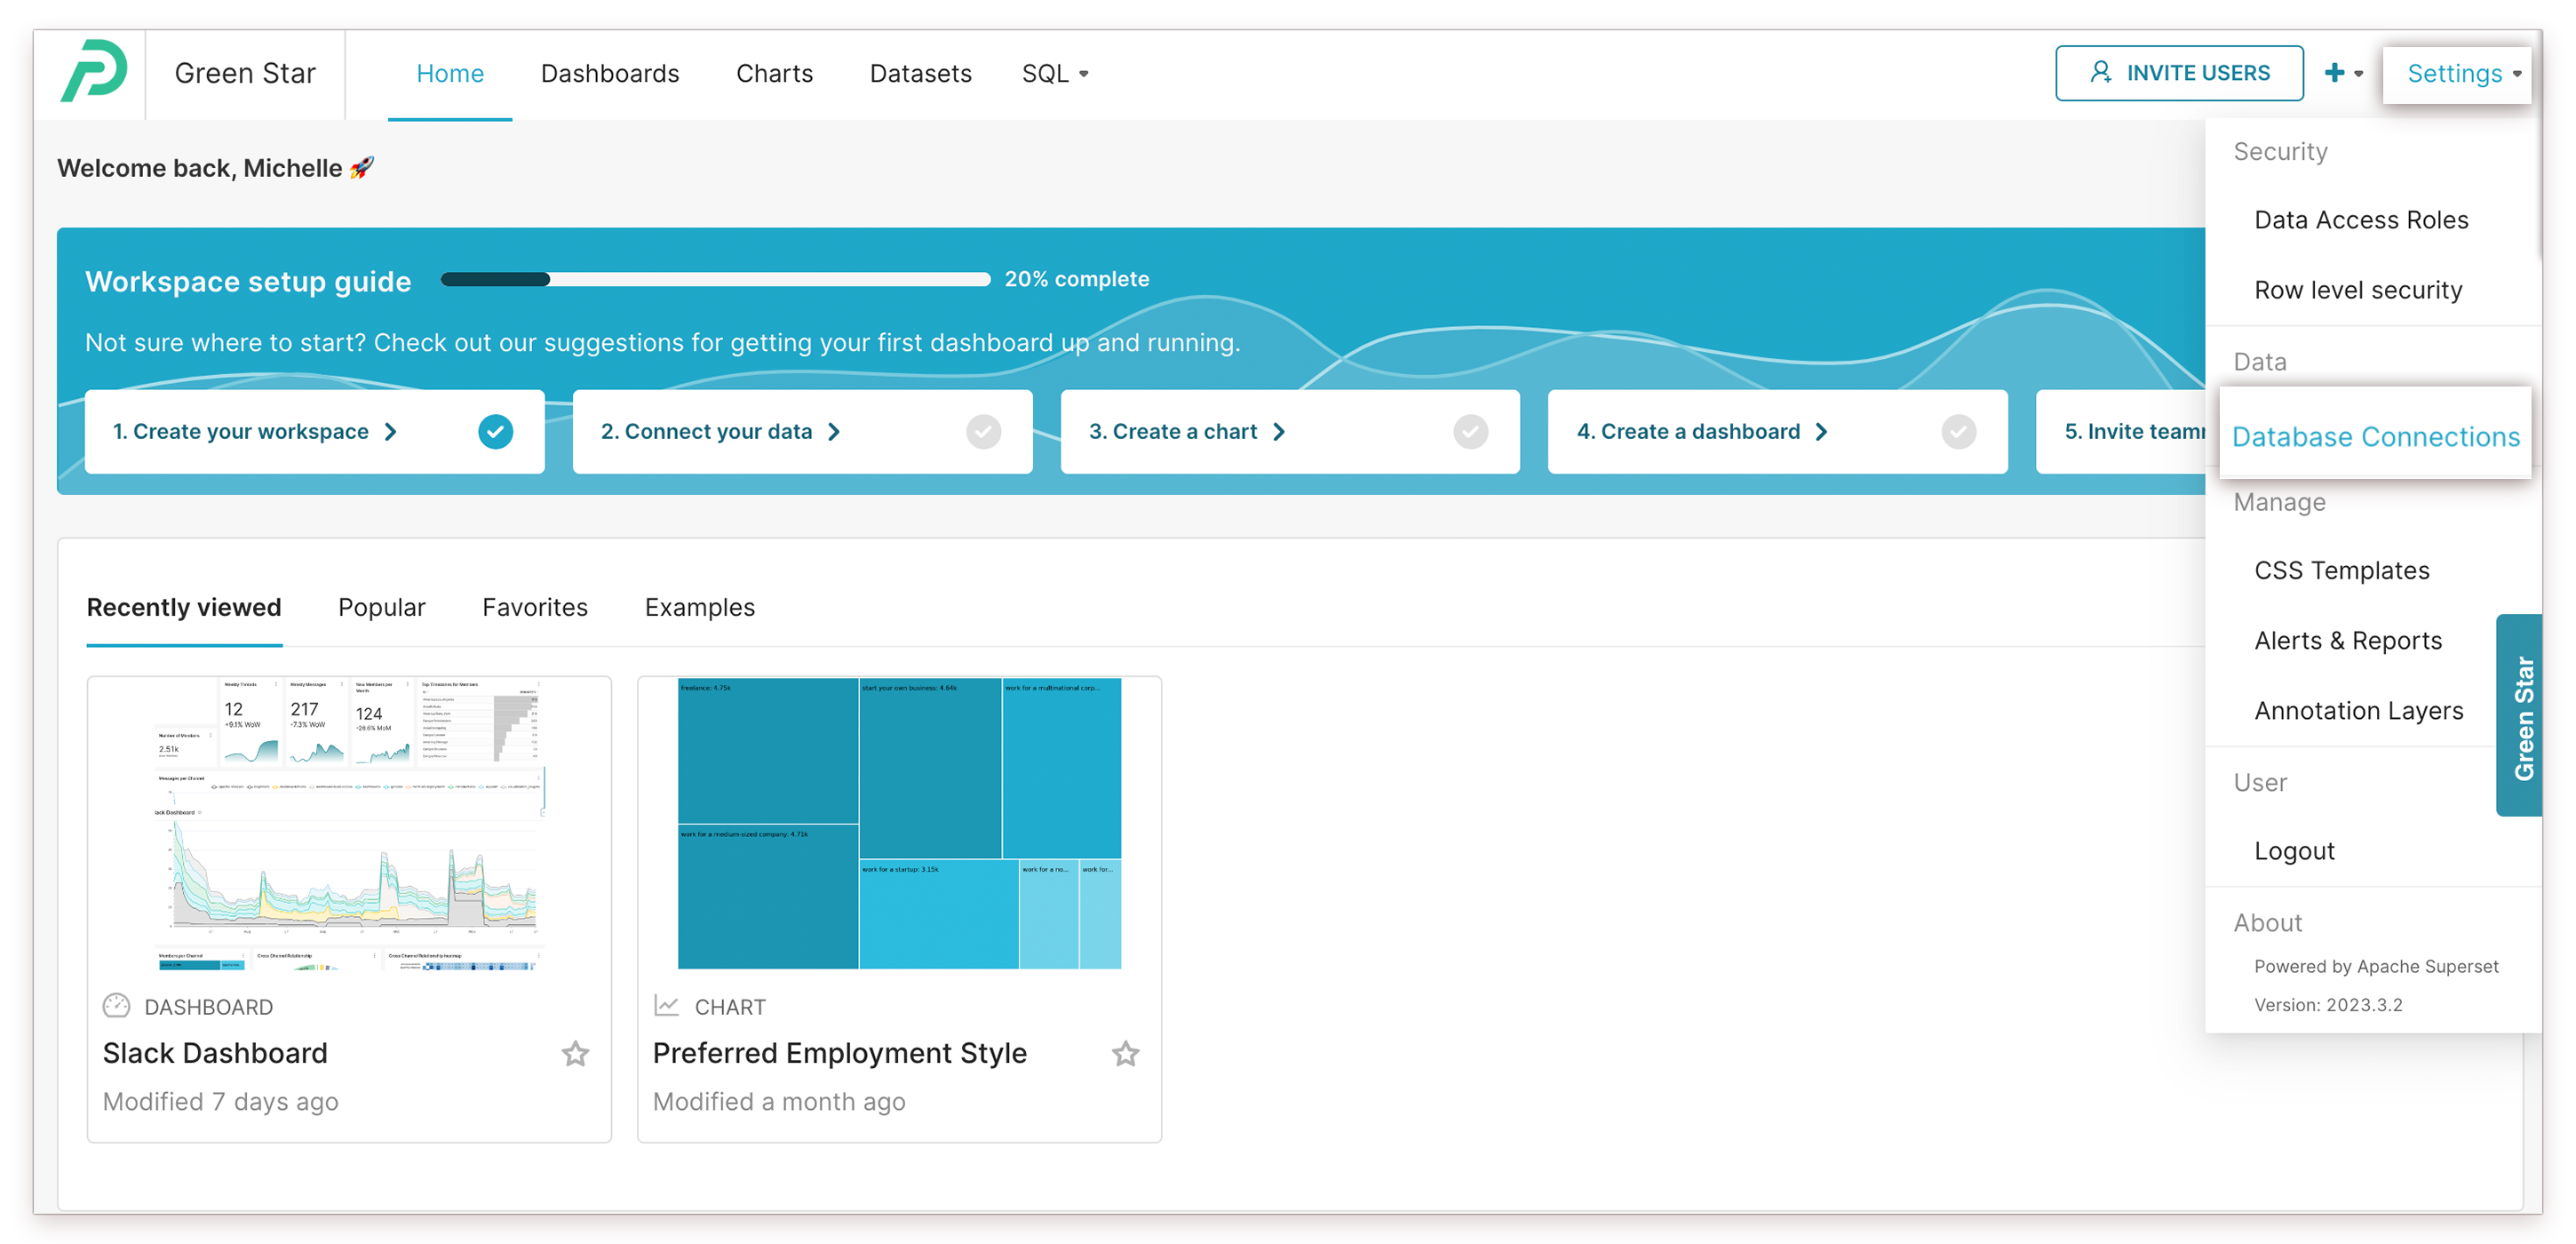
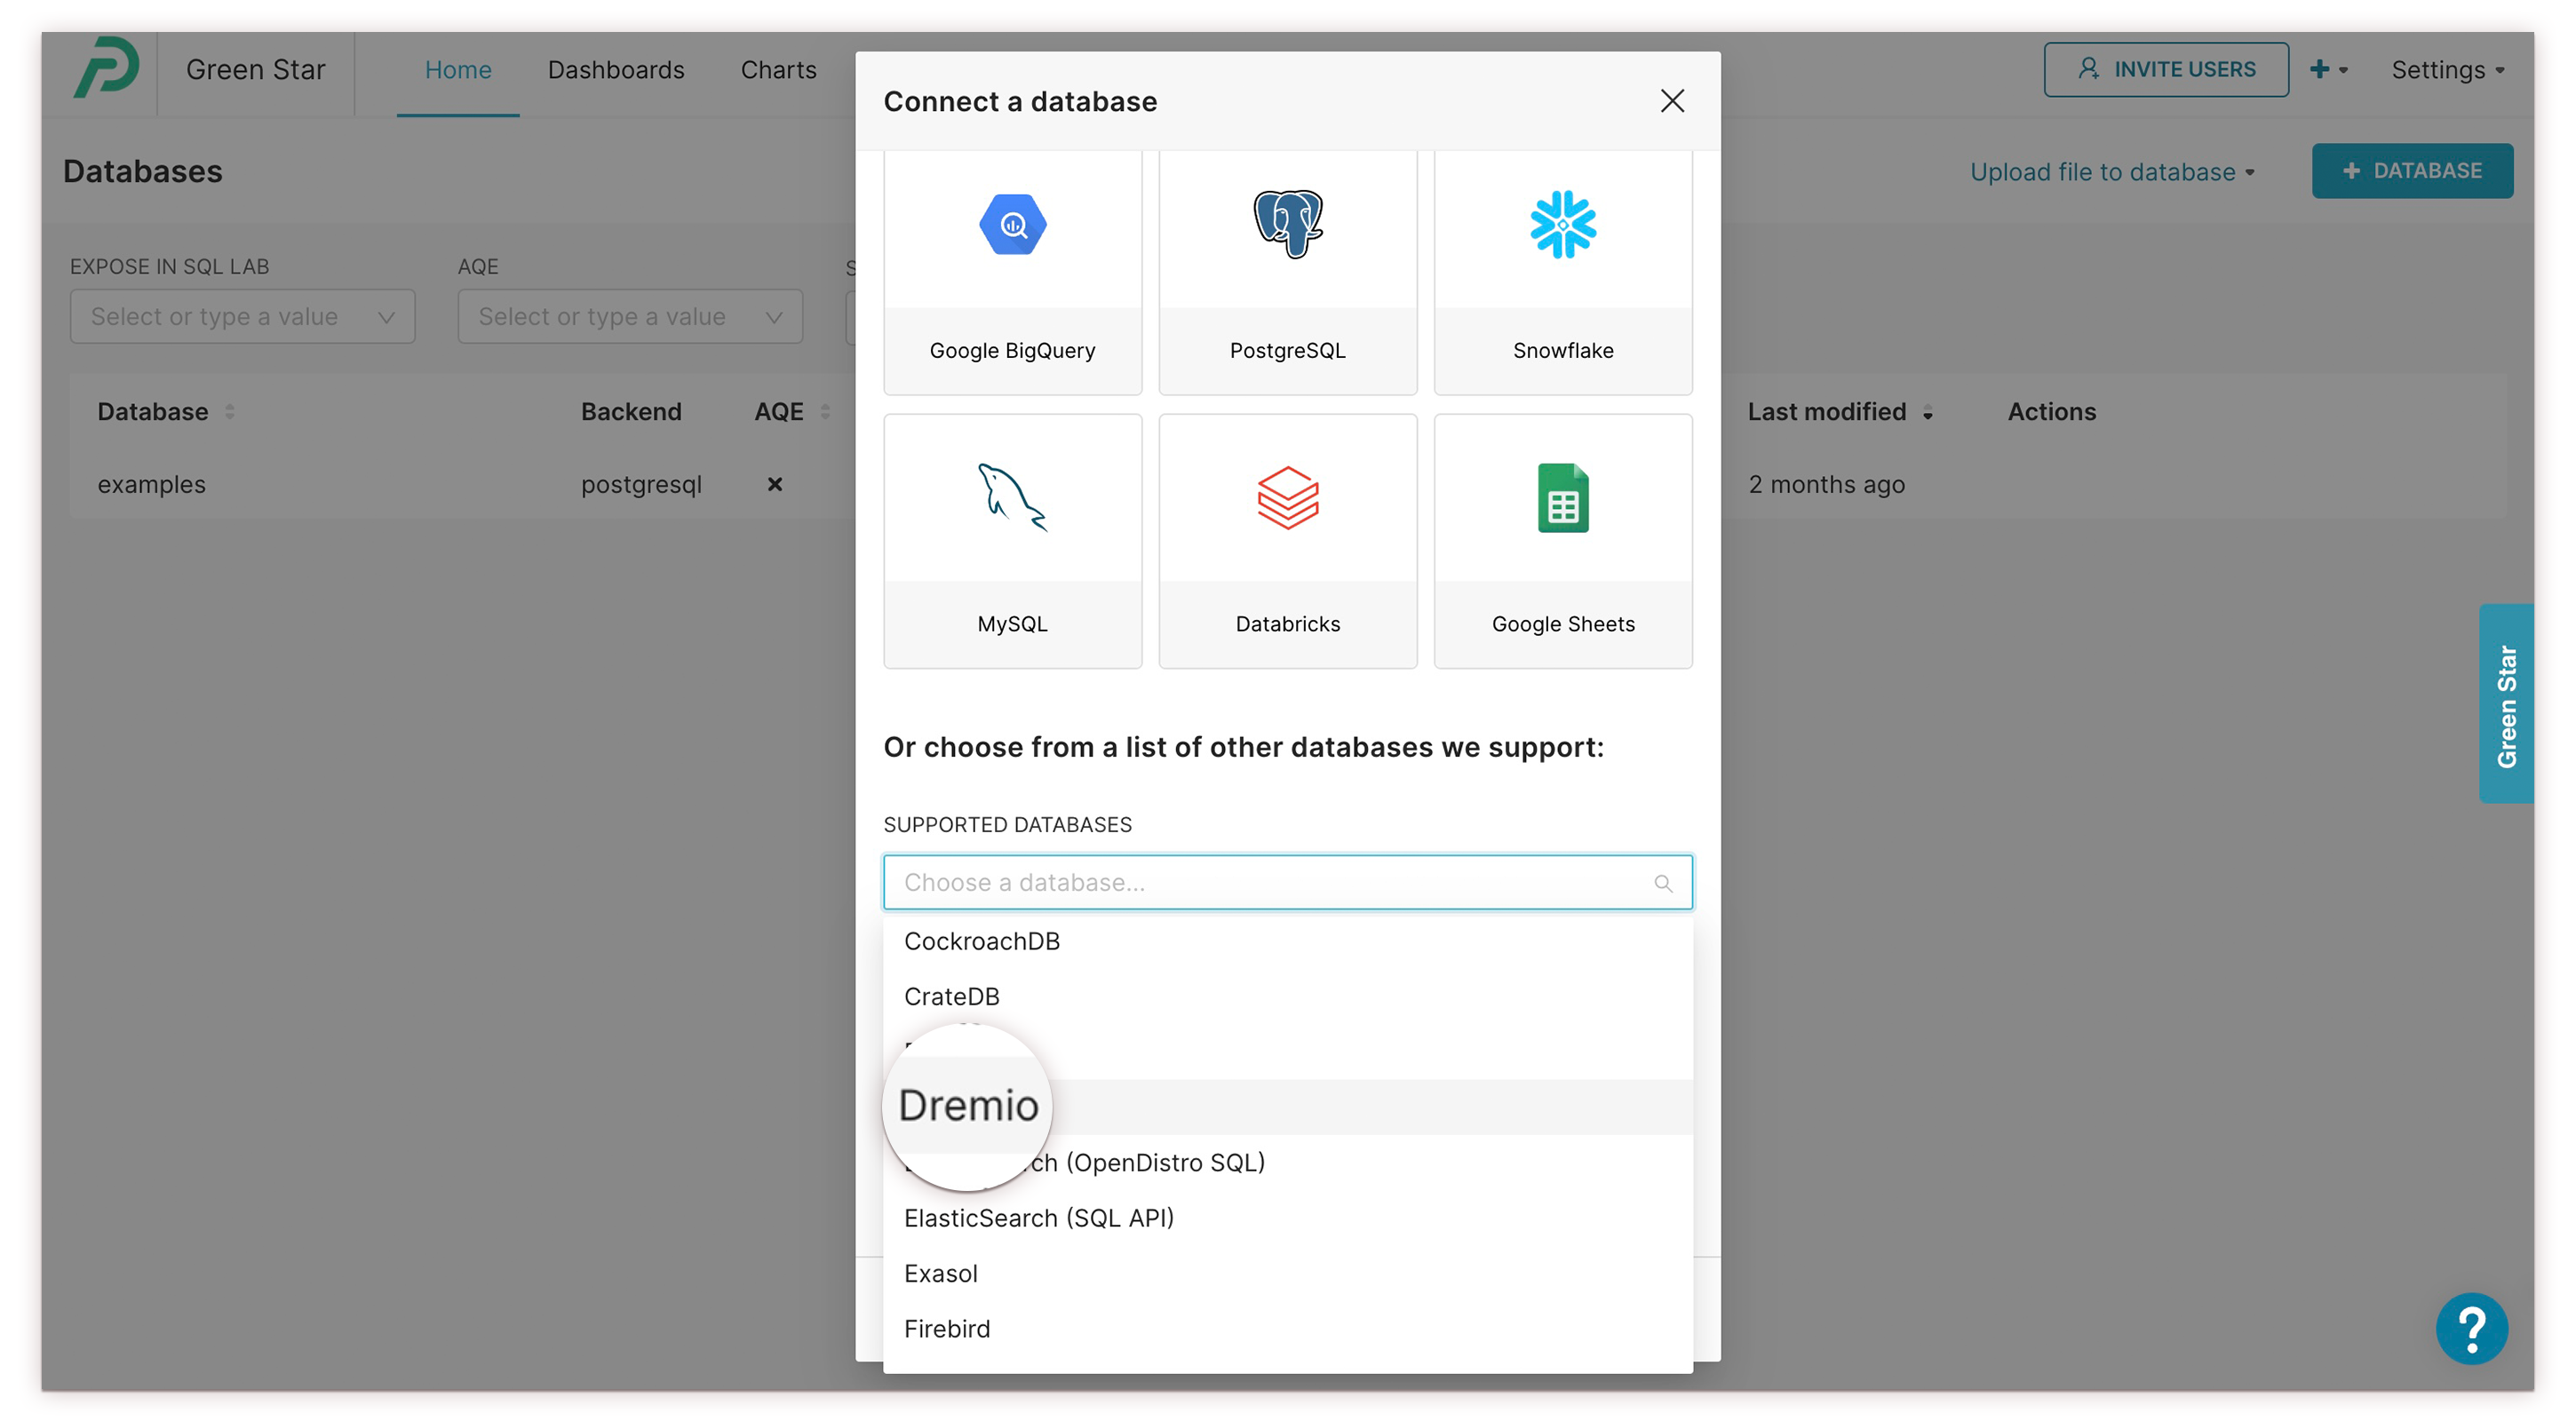
- In the Toolbar, hover your cursor over Settings and select Database Connections.
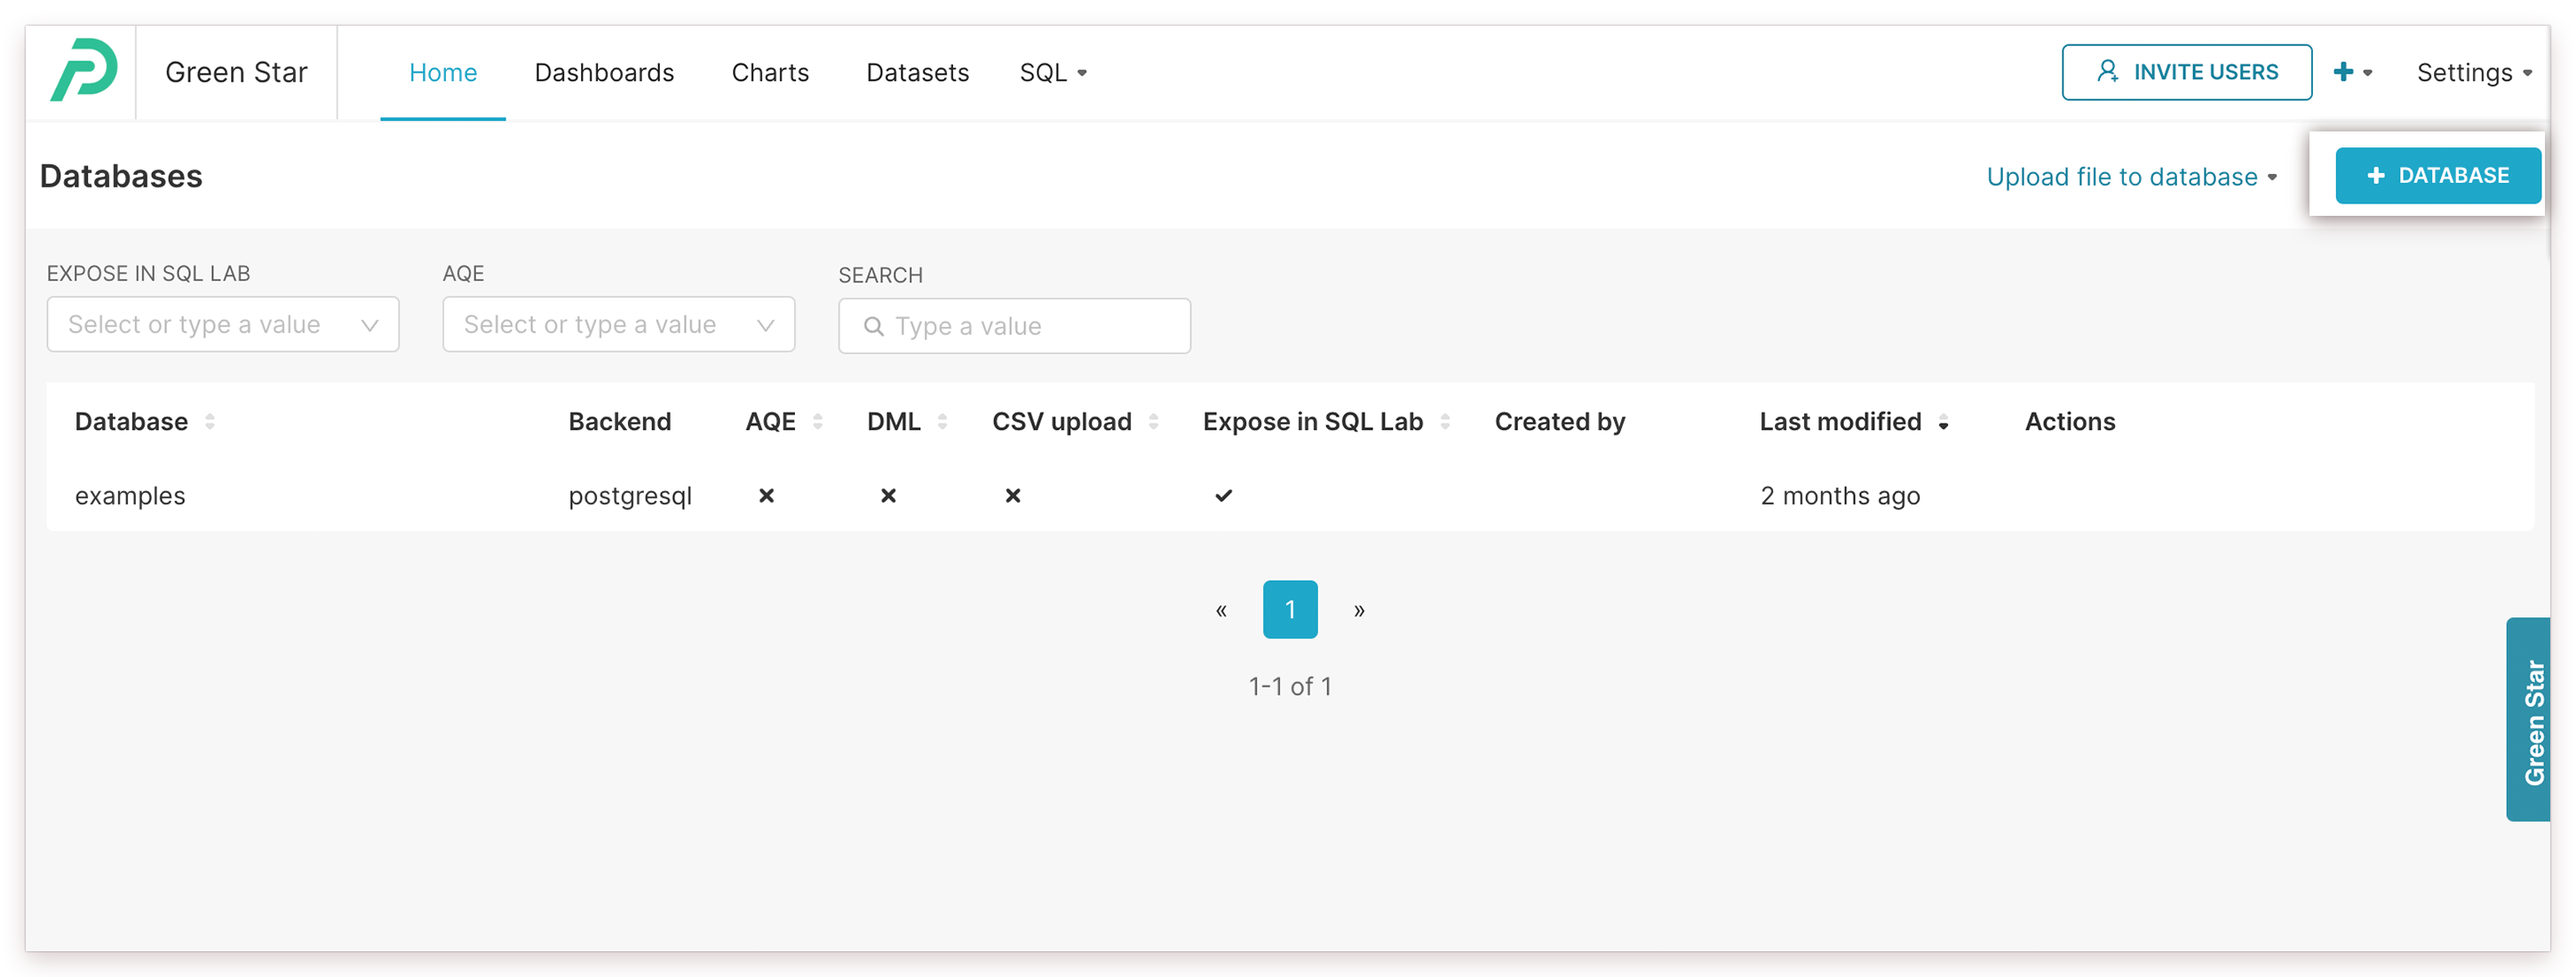
- Click on the + Database button.
- Connect a database window appears. Select the appropriate database card.
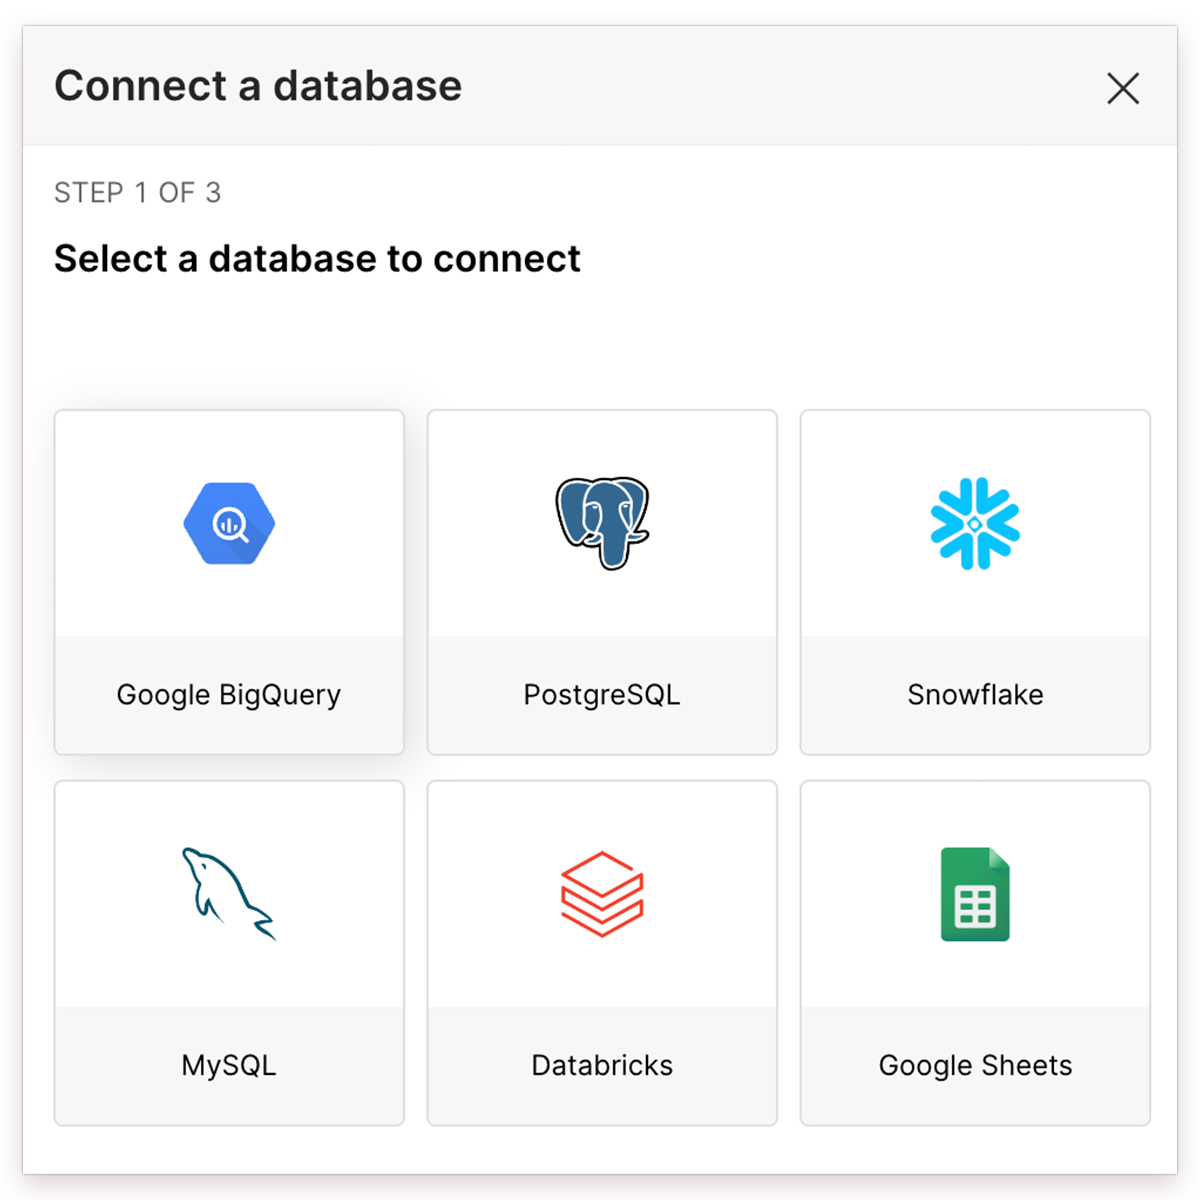
...or, if your database is not one of these, select Supported Databases and choose a database from the drop-down list.

- You also have the option of importing your database from a file.
Preset supports these databases. If you don't see your preferred database listed, then please contact support. We will carefully review your suggestion and consider it for inclusion in our list of supported databases.
Connection Methods
You can configure the database connection by providing connection credentials or supplying a SQLAlchemy URI, depending on the type of database. Both methods are described below.
-
If your database is one of the following, then you can connect by providing credentials (host, port, etc.) and/or other connection details.
Google BigQuery PostgreSQL Snowflake MySQL Amazon Redshift Google Sheets
Method 2: Connect with SQLAlchemy URI
- If your database is not listed above, then you can connect by providing a SQLAlchemy URI.
Method 1: Define Credentials
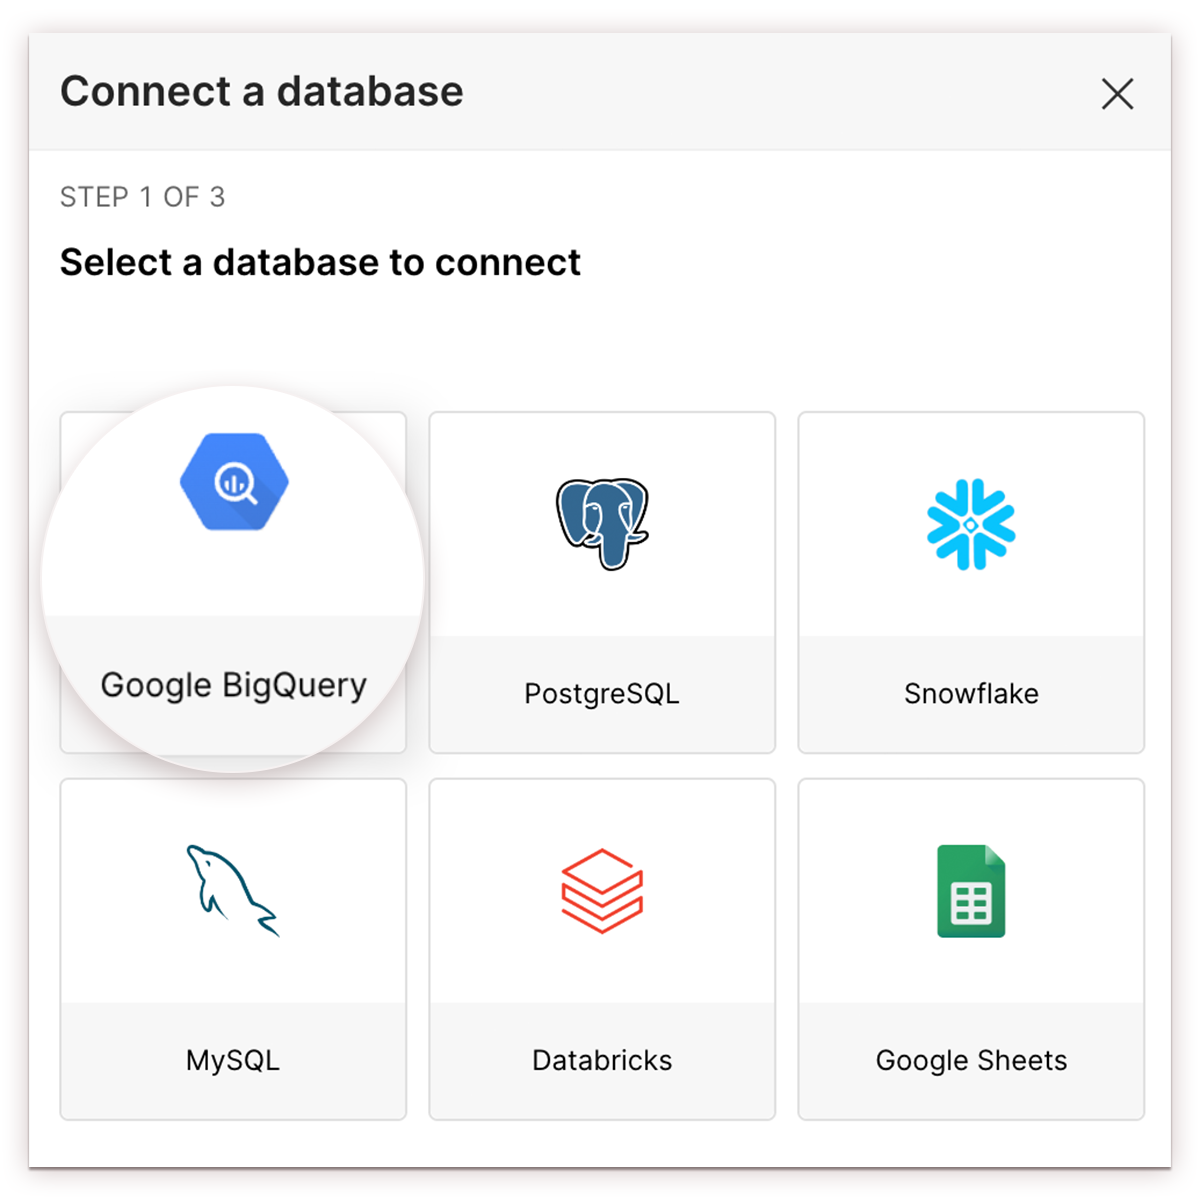
- To demonstrate this option, select the Google BigQuery card.
- The Connect a database window appears.

Fields you may encounter when defining credentials include:
- Host*: A host, defined as either an IP address or as a domain.
- Port*: Enter a relevant port number for the connection. If user does not have a port number, then use the database's default port value. This fields is used when connecting Redshift (default port 5439), PostgreSQL (default port 5432), and MySQL (default port 3306) databases.
- Database Name*: The name of the database that you are connecting to.
- Username*: The username associated with a user account.
- Password: The password associated with a user account.
- Display Name*: A nickname for the database (for display in Preset).
- Additional Parameters: Any additional custom parameters, if needed.
- SSL: Select the switch to require a SSL connection.
Fields marked with an asterisk (*) are mandatory.
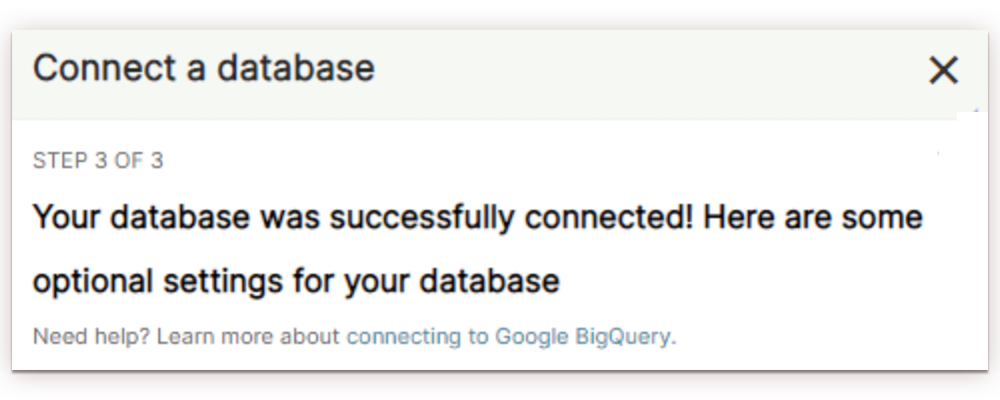
- Select Connect to connect your database to Preset.
You may be prompted to provide additional configuration settings. See Advanced Connection Settings to learn more.
Method 2: Connect with SQLAlchemy URI
The majority of our supported databases are connected via a SQLAlchemy URI — please see connection strings for reference.
- For example, after selecting Dremio from the Supported Databases list...
...you can see that the connection requires only a display name and URI to connect to Preset:
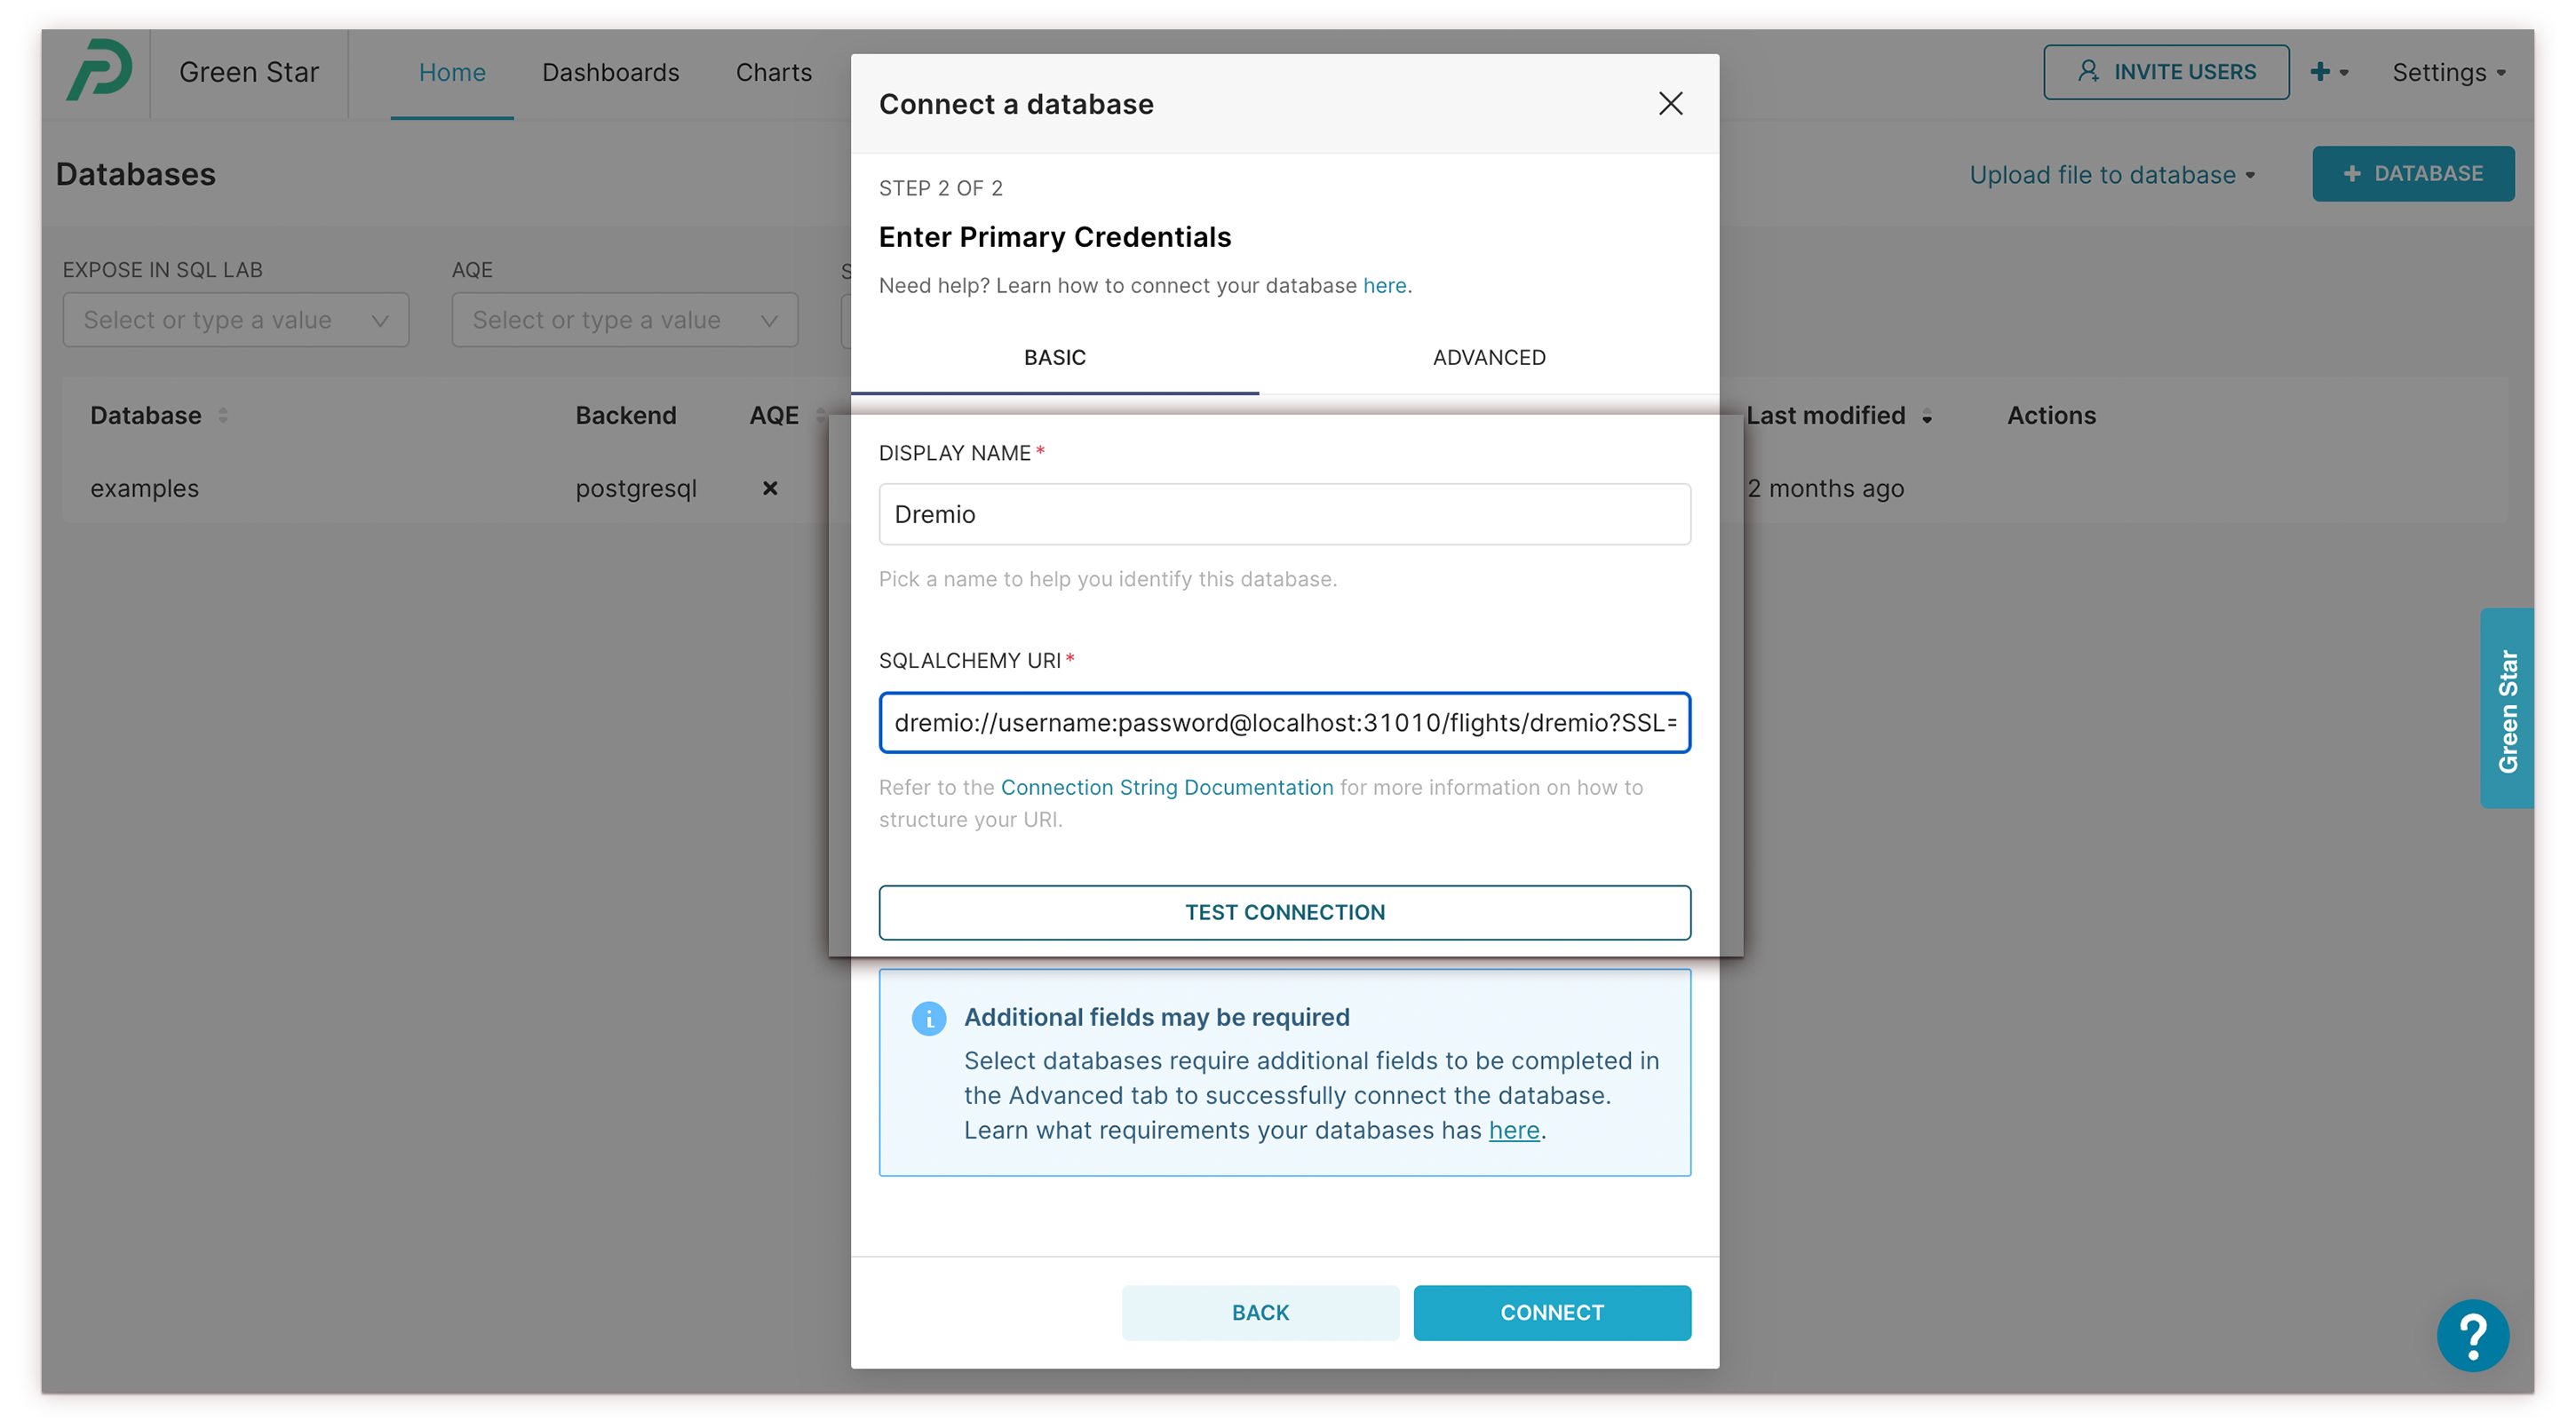
- When done, select Test Connection to see if it works — a notification message will appear. If no additional connection settings are required, then go ahead and select Connect.
Need a hand?
If you're running into any problems, try to troubleshoot the connection. If you're still stuck, don't worry — just contact support for assistance.
Supported Databases
Preset supports the following databases as well as any database that can be connected to via a SQLAlachemy URI.
| Airtable | Amazon Athena | Amazon DynamoDB | Amazon Redshift |
| Apache Doris | Apache Drill | Apache Druid | Apache Hive |
| Apache Impala | Apache Kylin | Apache Pinot | Apache Spark SQL |
| Aurora MySQL (Data API) | Aurora PostgreSQL (Data API) | Azure Synapse | CelerData StarRocks |
| ClickHouse | Clickhouse Connect | CockroachDB | CrateDB |
| Databricks Interactive Cluster (Hive) | Databricks SQL Endpoint (ODBC) | Dremio | ElasticSearch (OpenDistro SQL) |
| ElasticSearch (SQL API) | Exasol | Firebird | Firebolt |
| Google BigQuery | Google Sheets | IBM db2 | Microsoft SQL Server |
| MongoDB | MotherDuck | MySQL | Oracle |
| PostgreSQL | Presto | Rockset | SAP HANA |
| SingleStore | Snowflake | StarRocks | Teradata |
| Trino | Vertica | ||
| ...and any database that supports a SQLAlchemy URI connection! | |||
Cross-database Joins
Preset runs all queries directly on your database. No extractions or data dumps are being stored on Preset, which could lead to stale data, limited scale and speed, and security issues. Security and governance are stronger as raw data never leaves your database and it is easy to control permissions via a single point of access.
Because raw data never leaves your database, cross database or cross dataset joins are not supported. Preset recommends that a robust semantic layer is built outside of the Business Intelligence tool for centralized governance and performance.
While cross-datasets joins are not support, scoping a filter allows one dataset to be filtered based on values from another dataset, as long as there's a column name.