Overview
In this article we will discuss how to connect an Amazon Athena database to Preset.
Allowlist Preset IPs
Preset Cloud runs on four regions. For Preset to access your data, first thing you need to do is to add region based Preset IP addresses to your Inbound and Outbound firewall rules.
| us-west-2 (us1a) | us-east-1 (us2a) | eu-north-1 (eu5a) | ap-northeast-1 (ap1a) |
|---|---|---|---|
| 35.161.45.11 | 44.193.153.196 | 13.48.95.3 | 35.74.159.67 |
| 54.244.23.85 | 52.70.123.52 | 13.51.212.165 | 35.75.171.157 |
| 52.32.136.34 | 54.83.88.93 | 16.170.49.24 | 52.193.196.211 |
If you are not sure where your Preset workspace is located, you can refer to the URL on your browser when accessing Preset. It should look like this: https://xxxxxxxx.us2a.app.preset.io/superset..., where us2a means it is in us-east-1.
Required AWS IAM Permissions
The Athena connection is authenticated using Security Credentials from an AWS user. Granting the AmazonAthenaFullAccess Permission Policy to the user grants all required permissions. For a more granular configuration, grant the following permissions:
athena:StartQueryExecutionathena:GetQueryResultsathena:GetQueryResultsStream(if Managed Query Results is enabled)glue:GetDatabase,glue:GetTable(if using AWS Glue / Data Catalog)s3:GetObject,s3:PutObject,s3:ListBucket(if using S3 output bucket)
Connect Database to Preset
- Navigate to Settings > Database Connections
- Click + Database — check out Connecting your Data if you need help with this step.
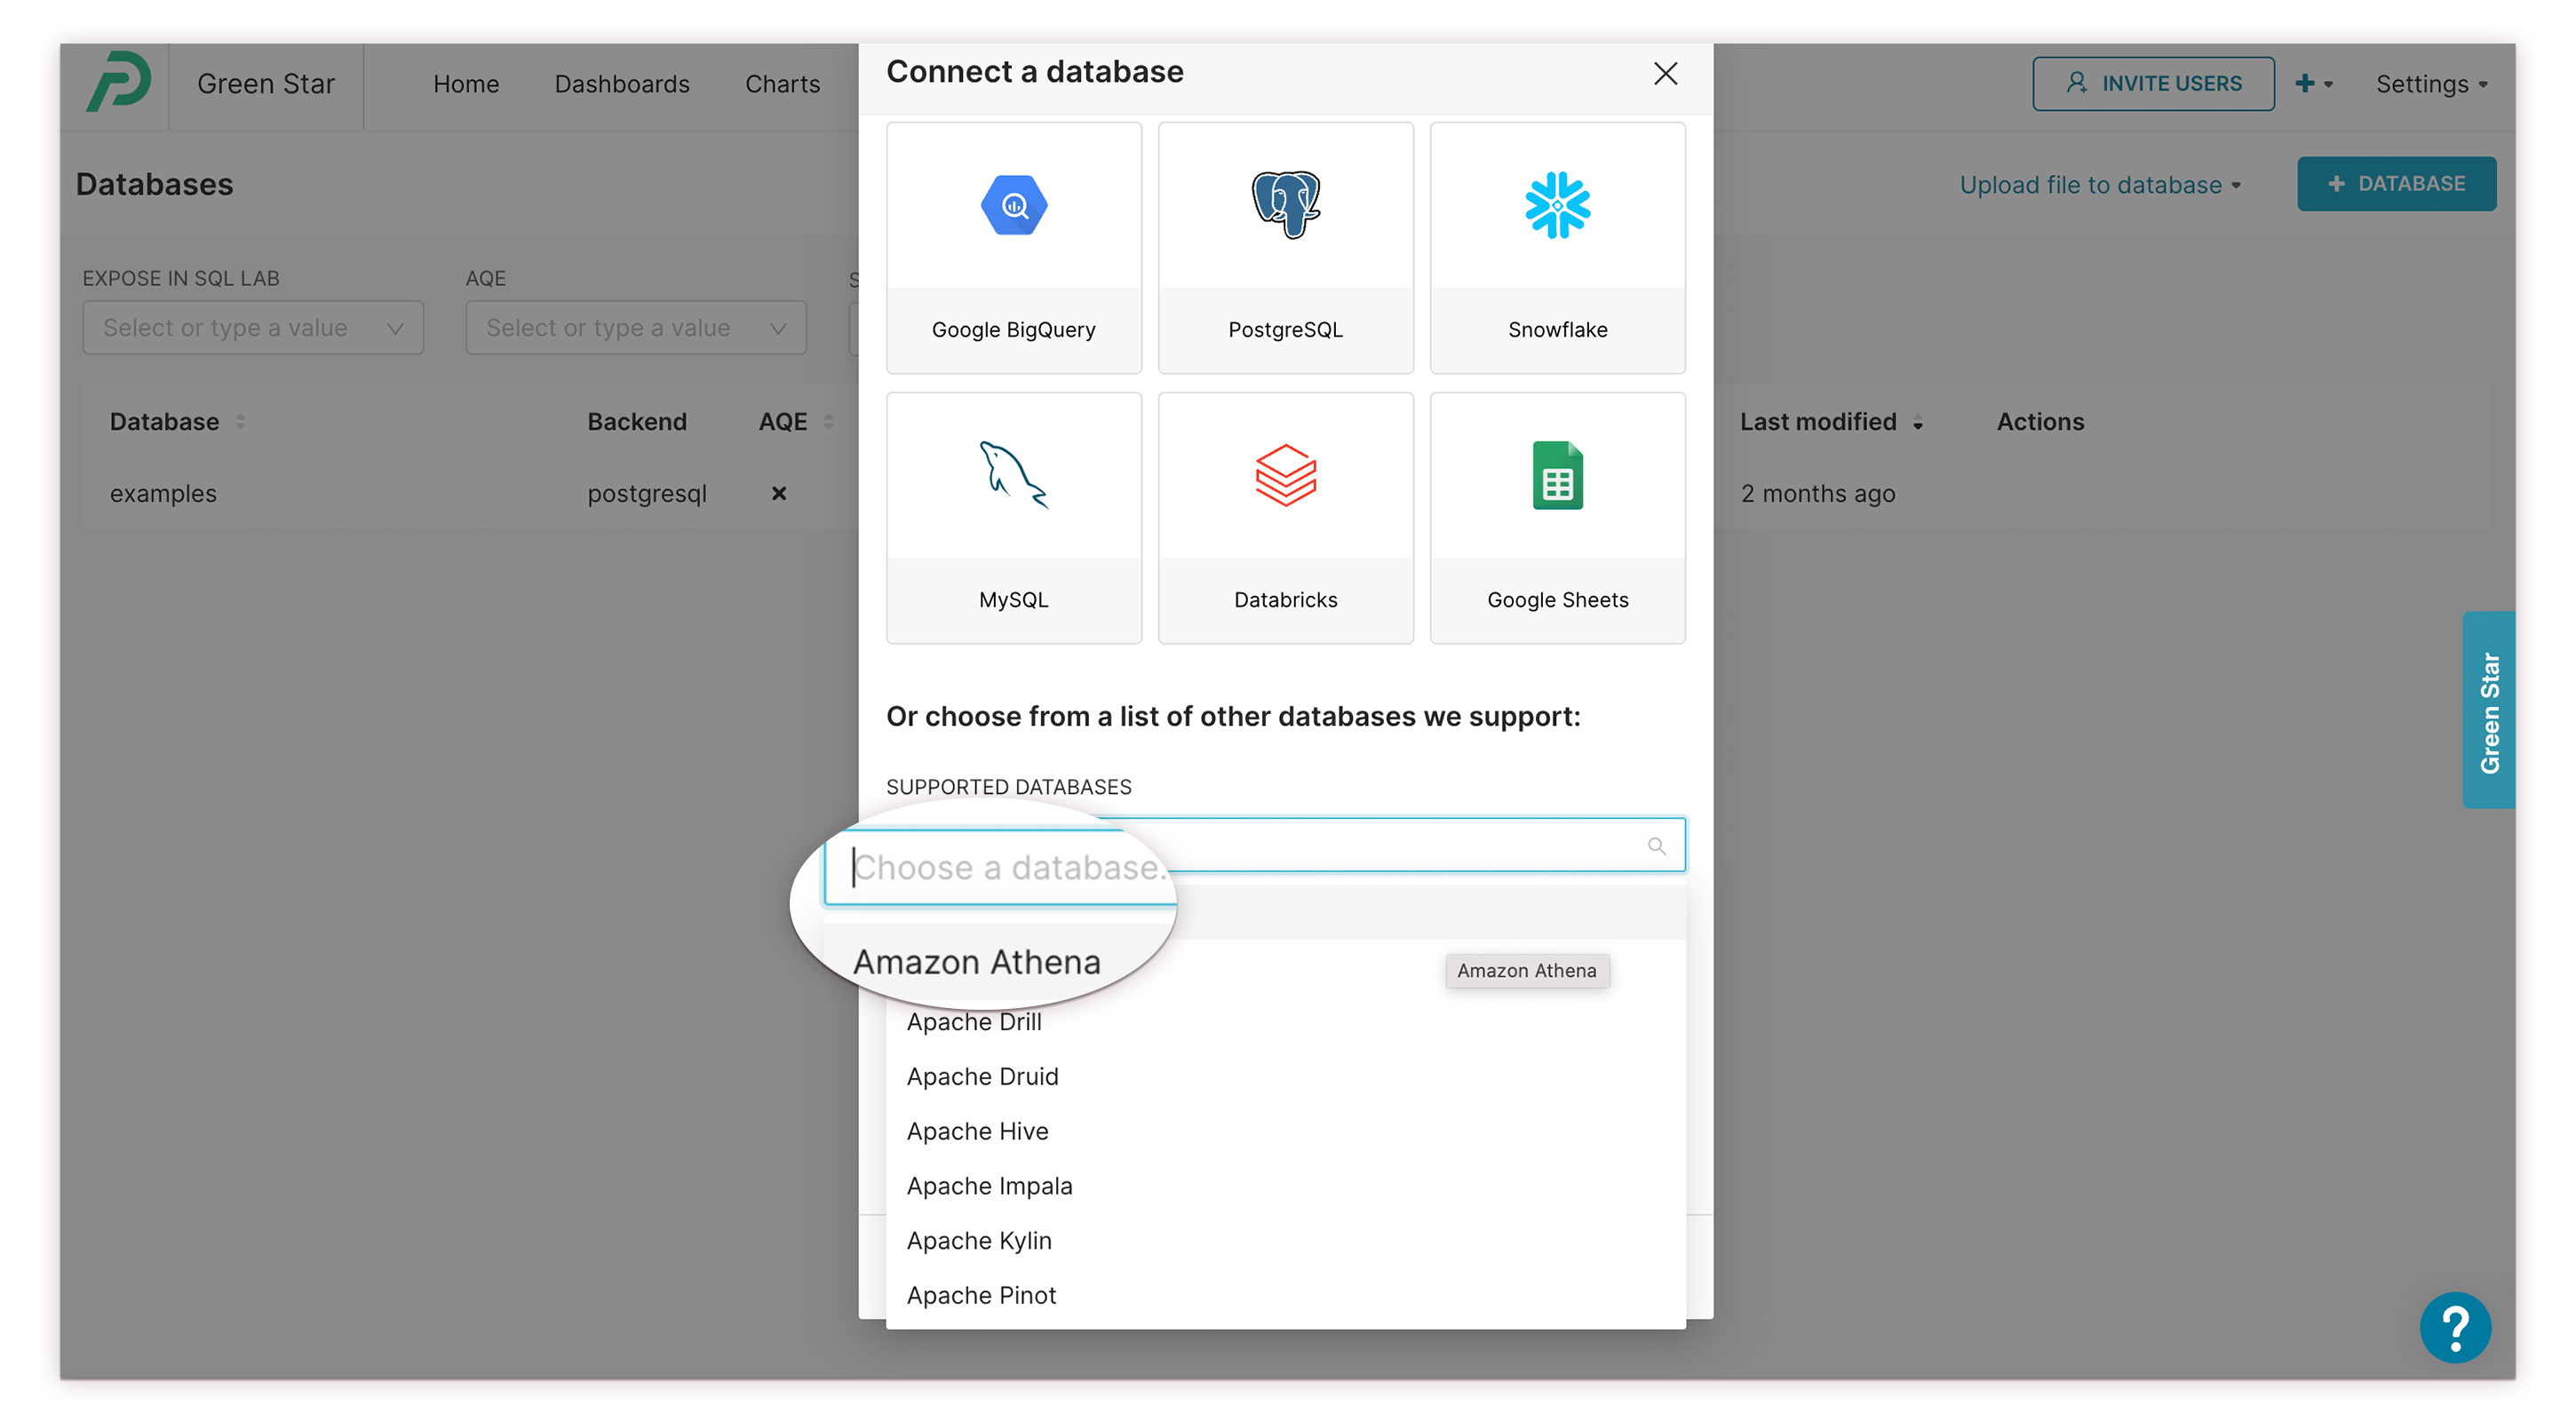
- In the Connect a database window, select the Amazon Athena card from the drop-down.
In the Display Name field, enter a nickname for display in the Preset environment. The SQLAlchemy URI field varies depending on the connection method:
Using a Staging Directory
In this option, an S3 bucket is used for storing the Athena query results. This bucket is used in the connection string:
awsathena+pandas://<AWS Acess Key ID>:<AWS Access Key Secret>@athena.<AWS Region>.amazonaws.com/<Database Name>?s3_staging_dir=s3://<S3 bucket storing Athena query results>Using Managed Query Results
Athena supports Managed Query Results at the workgroup level. When this option is enabled, a different connection string must be used in Preset:
awsathena+rest://<AWS Acess Key ID>:<AWS Access Key Secret>@athena.<AWS Region>.amazonaws.com/<Database Name>Save the Connection
Finally, select Test Connection. A notification message will appear indicating success or failure. If the test worked, then go ahead and select Connect to finalize the database connection.