Overview
A workspace is an organizational unit, accessible by team members, that is created for a specific purpose. A workspace can be created for any reason — some use cases are:
- Projects.
- Business units or departments.
- Development lifecycle stage (e.g., testing, development, etc.).
- To restrict access (e.g. internal / external, restricting PII).
Workspaces feature role-based access controls that enable Administrators to control access to Preset functionality and data.
Most importantly, selecting a Preset workspace launches an instance of Superset, where users can create powerful visualizations via charts and dashboards.
Launch a Superset Instance
Launching an instance of Superset is as easy as selecting a Preset workspace card:

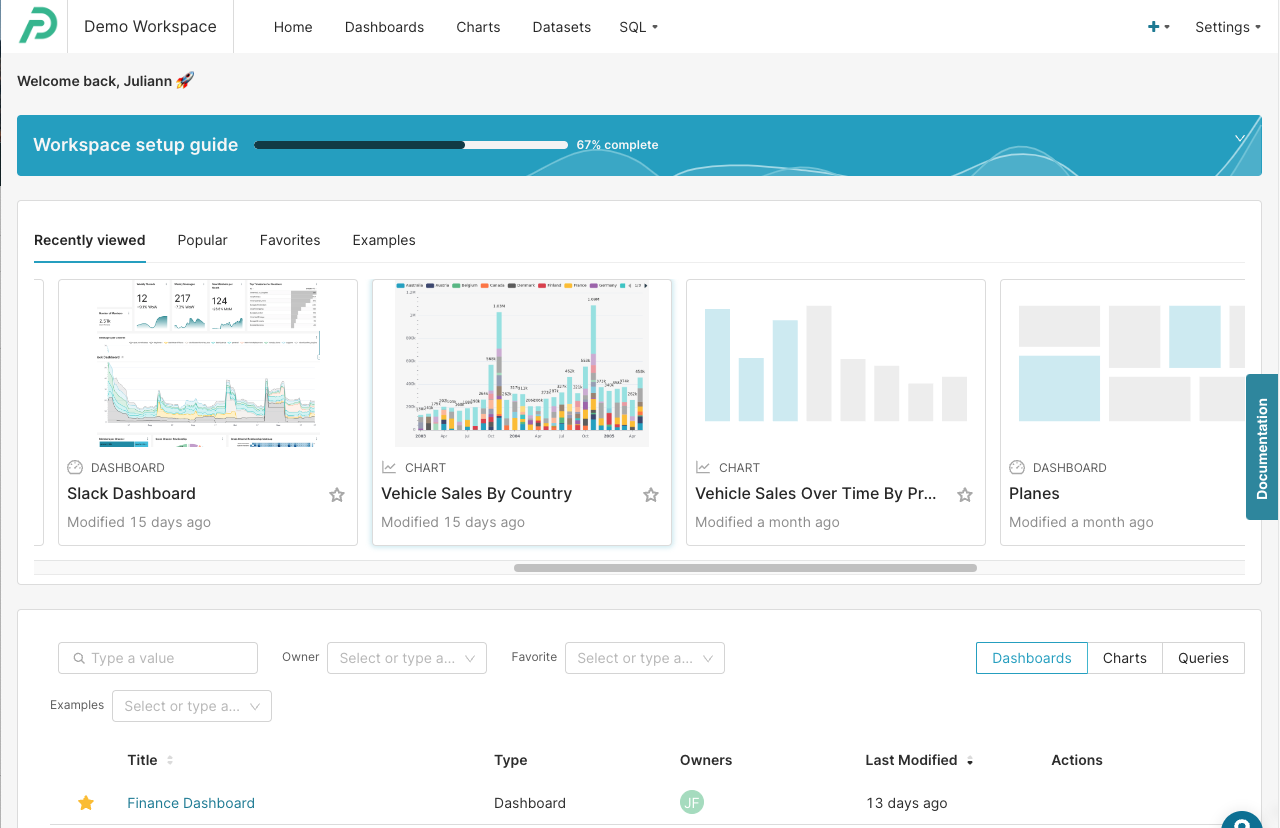
After you select a workspace, your Home Page appears, where you can proceed to connect a database (if you are an Admin), create and configure a chart, and build your own unique dashboards.
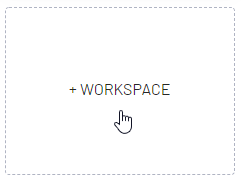
Create a Workspace
To Create a Workspace, navigate to the empty card and select + Workspace.
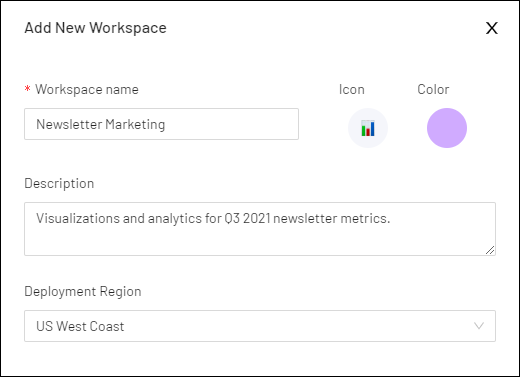
The Add New Workspace panel appears.
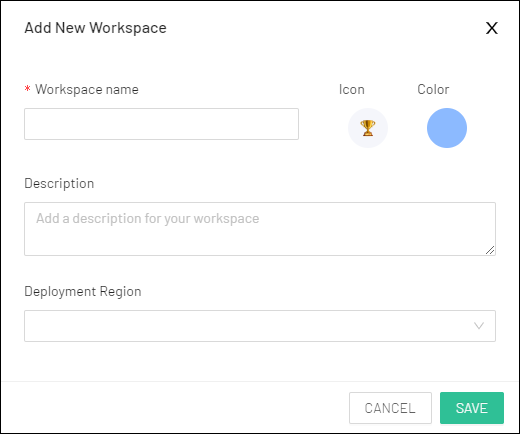
Define Workspace Settings
In the Workspace name field (required), enter a name for your new workspace.
In the Description field, enter a brief description of the workspace, such as its purpose or intended usage.
In the Deployment Region field, select a geographical area where your Preset workspace instance should be deployed. Please note that this field cannot be changed once defined and this field is only configurable for the Professional and Enterprise plans.
Here's an example:
Customize Workspace Card
Next, we can customize the workspace card by specifying an icon and color:

Select the Icon circle to choose an icon for your workspace card.
![]()
Next, select the Color icon to choose a color for the left border of the card.
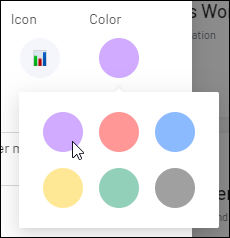
When done, select Save.
Our completed workspace card looks as follows:

Edit Settings
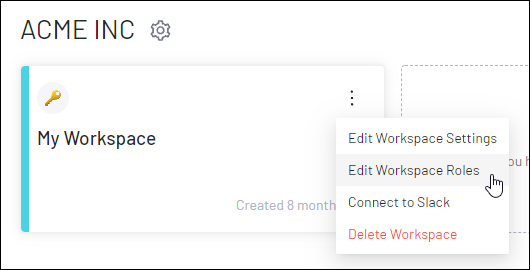
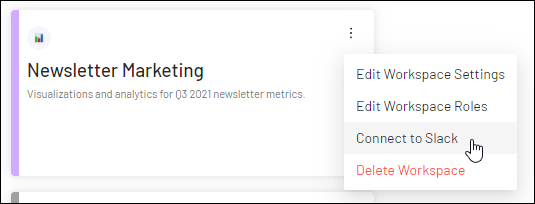
To change any of the settings you just defined, select the vertical ellipsis icon ( ⋮ ) and, in the sub-menu, select Edit Workspace Settings.

The Edit Workspace panel appears.

Modify information in the Workspace name, Description, Icon, and/or Color fields, as needed.
When done, select Save.
Edit Workspace Roles
Workspace roles enable Administrators to assign more granular control over access to Preset features based on a combination of established workspace roles and configurable data access roles. Workspace roles are assigned to members of a workspace.
To edit workspace roles, select the vertical ellipsis icon in a workspace card and, in the sub-menu, select Edit Workspace Roles.
To learn more about how access roles work in Preset, please see:
Connect to Slack
Preset supports the sending of alerts & reports to a dedicated Slack channel. In order to integrate Slack with Preset, please see Slack Integration.
Part of the integration process involves entering a Slack token, which is done via a workspace card.
To complete this step, select the vertical ellipsis icon and, in the sub-menu, select Connect to Slack.
And follow the instructions outlined in our Slack Integration article.
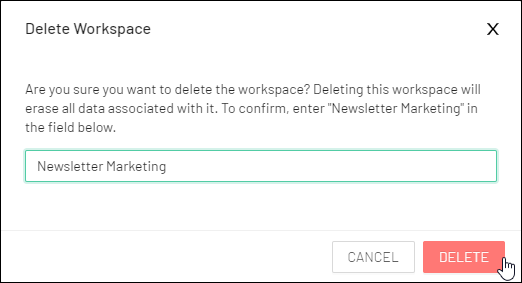
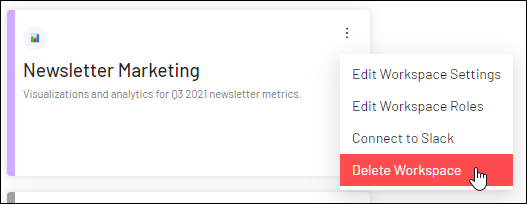
Delete a Workspace
To delete a workspace, select the vertical ellipsis icon ( ⋮ ) on a workspace card and, in the sub-menu, select Delete Workspace.
The Delete Workspace panel appears.
In the text-entry field, enter the name of the workspace.
In the example below, we are deleting the "Newsletter Marketing" workspace.
Select Delete to finalize the deletion.